If your laptop camera makes you look soft, dark, or awkwardly framed, an external webcam for laptop use is usually a worthwhile upgrade. The biggest gains come from better placement, steadier image quality, and clearer video in everyday lighting—not just from buying the highest resolution model. For most people, a good 1080p webcam with reliable autofocus and a stable mount is the sensible starting point.
Is an external webcam better than a laptop camera?
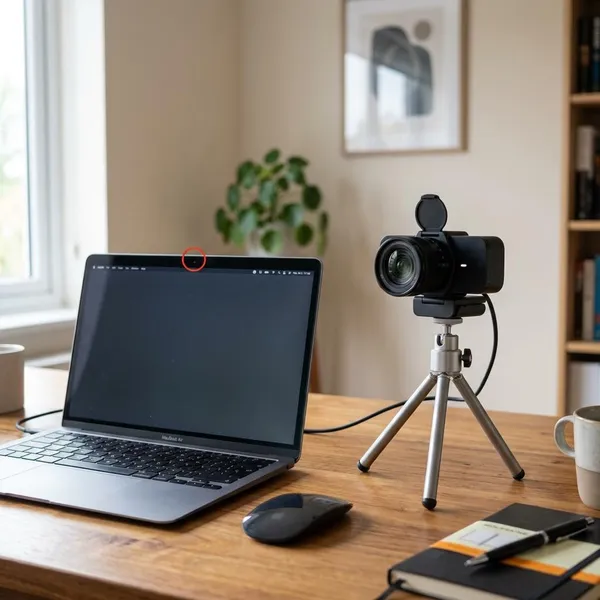
In many real setups, yes. A built-in laptop camera is convenient, but it is fixed in one place and often limited by the thin laptop lid. An external webcam gives you more control over angle, distance, lighting, and privacy, which can matter more than the camera spec sheet.
Better video quality and sharper detail
A decent external webcam usually gives a sharper, cleaner image than a basic built-in camera. Resolution helps, but the lens, sensor, and image processing also affect how natural your face, hair, glasses, and background edges look on screen.
Better performance in low light
Low-light performance matters if you take calls in the early morning, evening, or a room with only overhead lighting. Better webcams can often keep your face brighter with less grain, although no camera can fully fix a dark room.
- Good sign: your face stays visible without the background turning harshly bright.
- Bad sign: the image gets noisy, gray, or blurry whenever the room is not brightly lit.
More control over framing and camera position
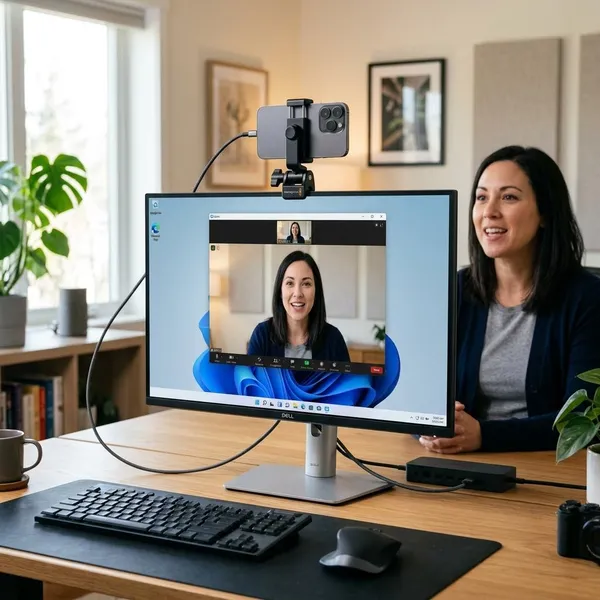
This is often the most practical reason to buy one. A laptop camera sits wherever the laptop lid happens to be, while an external webcam can sit on a monitor, a raised laptop, or a small tripod.
If your laptop is below eye level, the built-in camera may point upward and show more ceiling than face. Moving the webcam to eye level usually makes you look more engaged before you change any software setting.
More flexibility for privacy and desk setups
An external webcam is easier to unplug, turn away, or cover with a physical shutter. That can feel more reassuring than relying only on app permissions, especially if the camera stays on your desk all day.
It also works better with a laptop-and-monitor setup. If your laptop sits off to the side, placing the webcam on the main screen helps your eyes face the people you are talking to instead of making you look away from the conversation.
What to look for in an external webcam for a laptop
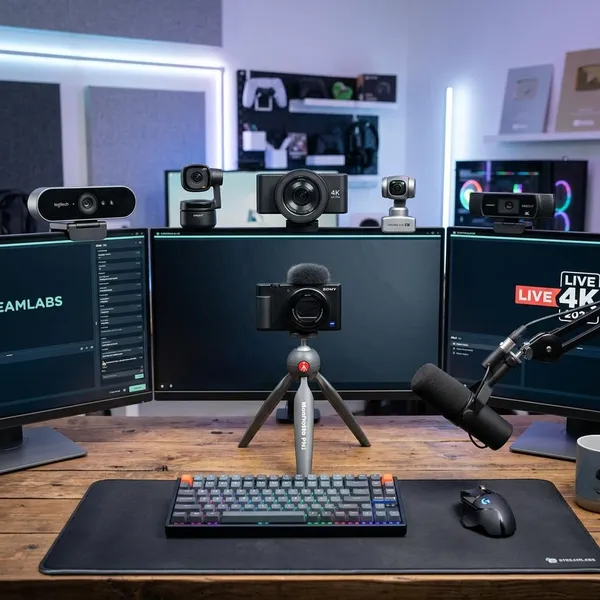
Start with the basics that affect daily use: image clarity, low-light handling, focus, mounting, and audio. Extra features are useful only if they solve a problem you actually have. A daily remote worker needs reliability; a student may need easy plug-and-play use; a streamer may need more control and smoother motion.
Resolution and frame rate
For Zoom, Teams, Google Meet, online classes, and normal work calls, 1080p at 30 fps is usually the best value. It looks clear enough without demanding too much from your internet connection or laptop.
Choose 60 fps if you move a lot on camera, teach with hand gestures, demonstrate objects, or record content where motion quality matters. Consider 4K mainly if you want extra cropping flexibility or sharper recorded video, not just because the number looks better.
Autofocus and low-light performance
Autofocus is useful when you lean toward the screen, sit back, or show notes and objects to the camera. If you mostly sit still at the same distance, fixed focus can be acceptable, but it gives you less flexibility.
For low light, look for sample footage or reviews showing normal indoor rooms, not only bright studio setups. A webcam that looks good beside a sunny window may behave differently in a small bedroom or evening study corner.
Field of view and framing
A moderate field of view is the safest choice for one person. It shows your head and shoulders without exposing too much of the room. Wider views are helpful for group calls, whiteboards, or demonstrations, but they can also make a messy background harder to hide.
- Solo meetings: choose a natural, not-too-wide frame.
- Teaching or demos: a wider view can help if you need to show materials.
- Interviews: a tighter, cleaner frame usually looks more focused.
Microphone quality
Many external webcams have built-in microphones, and they are fine for casual calls. For important meetings, interviews, webinars, or recorded content, a headset or separate USB microphone usually gives clearer speech and less room echo.
If people often ask you to repeat yourself, fix audio before chasing a more expensive camera. Clear sound usually improves a call more than extra video sharpness.
Mounting, privacy, and software controls
A webcam should stay steady without forcing your laptop screen into an awkward angle. Look for a secure clip if you move between rooms, and tripod support if you want more control over placement.
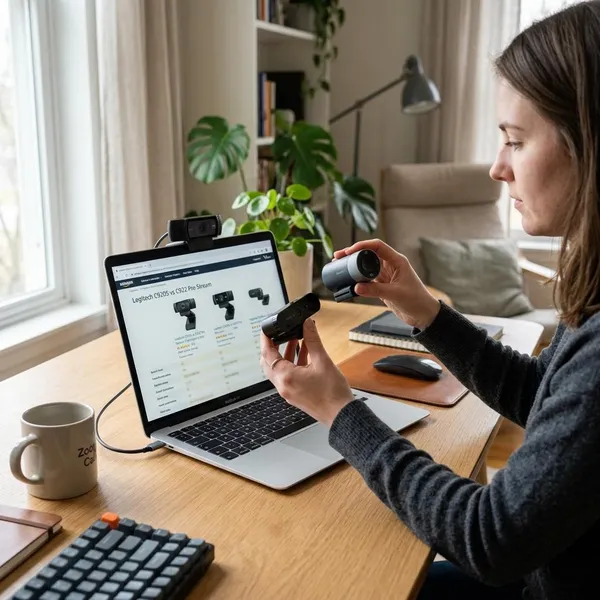
How to choose an external webcam for your laptop
The easiest way to choose is to match the webcam to your most common use, not the most demanding use you can imagine. Buying for "just in case" features often leads to paying for 4K, advanced software, or streamer controls you may never open.
| Primary use | Best starting point | Worth paying extra for |
|---|---|---|
| Regular work calls | 1080p, good autofocus, stable mount | Privacy shutter and better low-light handling |
| Online classes | Plug-and-play 1080p webcam | Autofocus if you show books, notes, or projects |
| Interviews | Sharp image, natural color, eye-level placement | Separate microphone and stronger exposure control |
| Streaming or recording | 1080p/60 fps or 4K depending on workflow | Manual controls, crop options, and better software |
| Occasional personal calls | Simple 1080p model with built-in mic | Only if your room is dim or your laptop camera is very poor |
For video meetings and remote work
Choose a dependable 1080p webcam with autofocus, decent low-light handling, and a mount that works with your desk. If you spend hours in meetings every week, consistency matters more than headline specs.
A privacy shutter is especially useful when the webcam stays plugged in all day. It removes the small daily doubt of whether the camera is truly covered when meetings end.
For online classes
Students usually benefit from a webcam that works quickly and does not need constant adjustment. A simple 1080p plug-and-play model is enough for lectures, discussions, and group projects.
If you study in a dorm, shared room, or dim corner, prioritize low-light handling and a field of view that does not show the whole room. If you need to show notebooks or project materials, autofocus becomes more important.
For interviews and professional calls
For interviews, choose a camera that gives natural color and stable exposure, then spend time on placement. Eye-level framing, a calm background, and clean audio often look more professional than an expensive camera pointed from the wrong angle.
- Check before the call: camera selected, microphone selected, face centered, background tidy.
- Avoid: bright windows behind you, laptop-low angles, and echoey audio.
For streaming and content creation
Streaming and recording can justify better specs. Look for 60 fps if movement matters, 4K if you crop the image or record in higher quality, and manual controls if you want the same look across sessions.
For simple everyday use
If you only use video occasionally, keep the choice simple. A basic 1080p webcam with a built-in microphone, broad app compatibility, and a stable clip is usually enough.
Do not overbuy for casual family calls or rare meetings unless your current laptop camera is genuinely distracting. Convenience should be the priority here: plug it in, select it once, and avoid fiddly software.
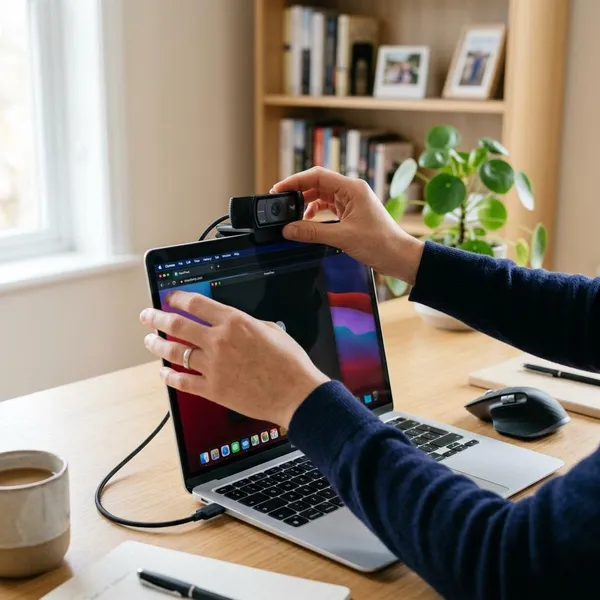
How to set up an external webcam on a laptop
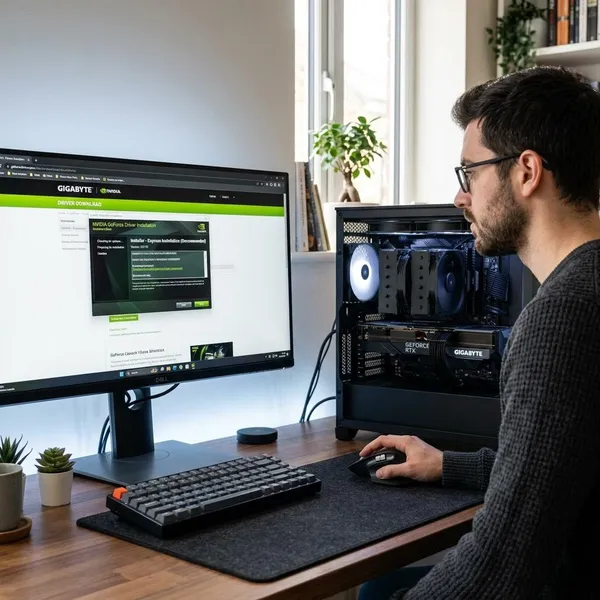
Most external webcams are simple to set up, but a quick check prevents the usual problems: the wrong camera selected, blocked permissions, poor framing, or audio coming from the laptop instead of the device you meant to use.
Connect the webcam to your laptop
Plug the webcam into a USB port and wait a few seconds for the laptop to recognize it. If your laptop only has USB-C and the webcam uses USB-A, use a suitable adapter or hub.
Place it securely before opening your meeting app. A loose webcam may shift during the call, and a tilted mount can make even a good camera look careless.
Allow camera and microphone access
If the webcam shows a black screen or does not appear in your app, check system privacy permissions first. Windows, macOS, and browser-based apps may each need permission to use the camera and microphone.
Select the webcam in your video app
Open the settings in Zoom, Teams, Google Meet, or your preferred app and choose the external webcam from the camera menu. If you use a headset or USB microphone, select that separately instead of assuming the app picked the right one.
- Camera: choose the external webcam, not the built-in laptop camera.
- Microphone: choose the clearest mic available.
- Speaker: confirm where you want the call audio to play.
Test the video and audio before use
Run a short preview before any important class, presentation, or interview. Check whether your face is centered, your eyes are near camera level, and your voice sounds clear.
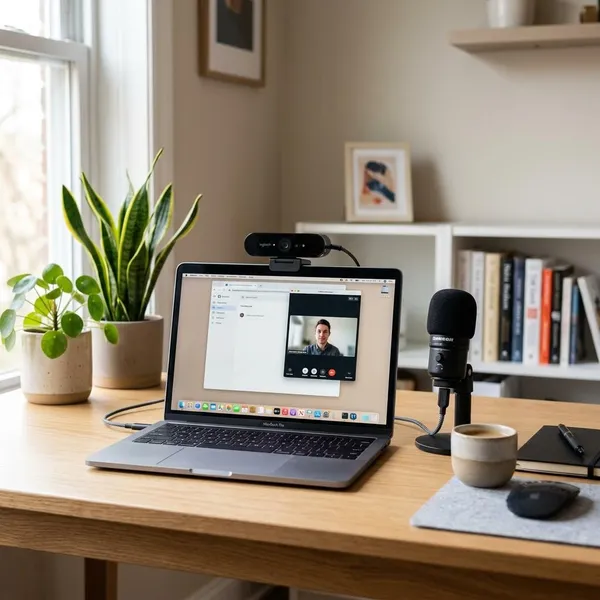
How to improve external webcam video and audio
Small setup changes often improve video more than buying a more expensive webcam. Work in this order: light your face, raise the camera, clean up the frame, then improve the microphone if your voice sounds distant or echoey.
Use soft front-facing light
Put your main light in front of you, not behind you. A window, desk lamp, or small video light can work as long as it lights your face evenly and does not create harsh shadows.
If the background is much brighter than your face, the webcam may darken you to balance the scene. Closing a curtain or turning your desk slightly can fix that faster than changing camera settings.
Position the webcam at eye level
Raise the webcam until it is close to eye level. A laptop stand, external monitor, or even a stack of books can make the angle look more natural.
This matters most for interviews and professional calls, but it also makes everyday meetings feel less awkward. You should not have to hunch over the laptop just to look centered.
Adjust the framing and viewing angle
A good starting frame shows your head and upper shoulders with a little space above your head. Too much room makes you look far away; too tight a crop can feel uncomfortable.
- Move the webcam closer if your face looks tiny in the frame.
- Narrow the view if the room behind you is distracting.
- Angle it slightly down or level rather than pointing up from the desk.
Use a separate microphone when needed
Use a separate microphone when the call depends on being heard clearly. A headset mic or small USB microphone can reduce echo, keyboard noise, and laptop fan sound better than many webcam microphones.
For casual calls, the built-in webcam mic may be fine. For interviews, teaching, client calls, streaming, or recorded videos, audio is not the place to cut corners.
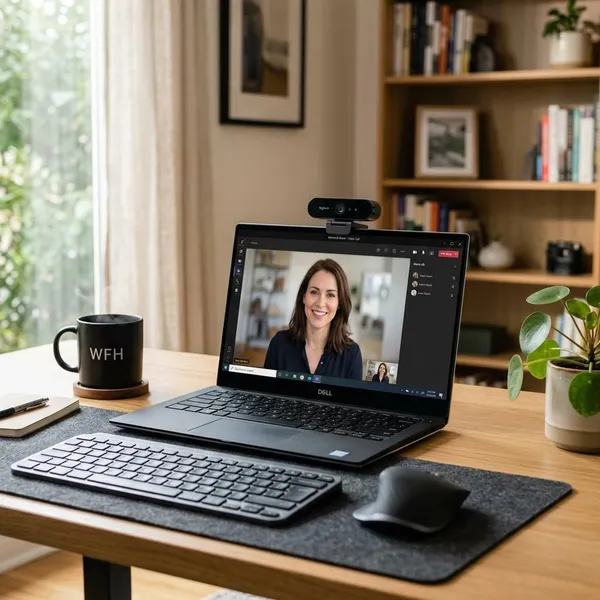
Conclusion
A laptop webcam is fine when video is occasional and your lighting is good, but an external webcam is the better choice when you need clearer detail, a more natural angle, or a setup that works well every day. Start with a reliable 1080p model, prioritize autofocus, low-light handling, and mounting, then improve your light and audio before spending more on premium specs.