To use an iPhone as a webcam on Windows 11, you'll usually need a webcam app such as Camo, DroidCam, or iVCam installed on both your phone and PC. For an important meeting or a long recording, start with USB; for a casual call where the camera angle matters more, Wi-Fi is usually fine. The main things to check first are app compatibility, permissions, and whether your video app can see the virtual camera.
Which iPhone webcam app should you use on Windows 11?
Camo, DroidCam, and iVCam can all turn your iPhone into a Windows 11 webcam, but they suit slightly different users. Pick the app based on how much control you want, how often you'll use it, and whether you care more about quick setup or camera tuning.
| Best fit | App to try first | Why it makes sense |
|---|---|---|
| Frequent calls, recording, cleaner image control | Camo | More camera settings and a more polished workflow |
| Simple home setup or occasional meetings | DroidCam | Easy to understand and quick to repeat |
| Flexible everyday use on Windows | iVCam | A middle ground between simple setup and adjustable options |
Camo for more camera controls
Camo is the strongest choice if you want the iPhone to look less like a backup camera and more like a proper webcam setup. It gives you more control over framing, exposure, color, resolution, and camera selection, depending on the version and features available to you.
It makes the most sense for regular remote work, interviews, tutorials, or content recording where small image improvements matter. If you only need a better camera for one quick family call, Camo may feel more advanced than necessary.
DroidCam for a simple webcam setup
DroidCam is the app to try when you mainly want the setup to work without spending much time on camera settings. Install the iPhone app, install the Windows client, connect the devices, and select DroidCam as the camera source in your meeting app.
iVCam for flexible Windows webcam use
iVCam sits between the other two options. It is approachable for beginners, but still gives you room to adjust connection type, camera placement, and some quality settings.
How to use an iPhone as a webcam on Windows 11
The setup is mostly the same whichever app you choose: install the app on your iPhone, install the matching Windows software, connect the two devices, allow permissions, then select the new virtual camera in Zoom, Teams, Meet, OBS, Discord, or another app.
Install the webcam app on your iPhone
Download the official iPhone app from the App Store, not a lookalike with a similar name. Webcam apps need camera and sometimes microphone access, so using the correct developer version matters.
Install the companion software on Windows
Install the matching desktop client on your Windows 11 PC from the app's official website. The Windows software creates the virtual webcam device that your meeting or recording apps can detect.
If the installer asks to add a driver or camera component, allow it only when you are sure it comes from the official app publisher. Restarting Windows after installation is worth doing if the app recommends it, especially if the camera does not appear straight away.
Connect your iPhone by USB or Wi-Fi
Open the webcam app on both devices before you try to pair them. Keep the iPhone unlocked during the first connection, because some apps will not finish pairing if the phone goes to sleep too quickly.
- For USB: plug the iPhone into the PC with a reliable cable and tap Trust This Computer if iOS asks.
- For Wi-Fi: put the iPhone and Windows PC on the same network, not separate guest or extender networks if the app cannot find the phone.
- Wait for preview: confirm that the live iPhone image appears in the Windows companion app before opening your meeting software.
Allow the required camera and microphone permissions
Permission problems are one of the fastest things to check when the setup fails. On the iPhone, open Settings, find the webcam app, and confirm camera access is enabled; enable microphone access too if you want to use phone audio.
On Windows 11, check privacy settings if the companion app or virtual camera seems blocked. If you can see the video in the webcam app but not in Zoom or Teams, the issue is more likely app selection than phone permission.
Select the iPhone webcam in your video app
Once the preview works in the Windows client, open the app you actually plan to use and choose the virtual camera by name. It may appear as Camo, DroidCam Source, iVCam, or a similar app-specific label.
Test the video and audio
Run a quick test before any call where quality matters. Check three things in order: whether the right camera is selected, whether your face is properly framed, and whether the microphone source is the one you intended to use.
If you use a headset or USB microphone, select that separately in the audio settings. The iPhone camera can look great while the app still uses a weak laptop microphone, which is an easy mistake to miss until someone says your sound is poor.
Should you connect your iPhone by USB or Wi-Fi?
USB is usually the safer choice for stability, while Wi-Fi is better when camera placement matters more than perfect reliability. The best option depends on the risk of the call and the layout of your room.
Use USB for a more stable connection
USB is the better default for long sessions, work presentations, interviews, streaming, and recording. A wired connection is less exposed to router congestion and weak signal spots, and it can help keep the iPhone powered during longer use.
If USB does not work, check the cable before reinstalling everything. Some charging cables are unreliable for data, and a damaged cable can cause the phone to connect, disconnect, and reconnect repeatedly.
Use Wi-Fi for easier camera placement
Wi-Fi is useful when the best camera angle is not right next to your computer. You can place the iPhone on a shelf, tripod, or monitor stand without stretching a cable across the desk.
It is best for short meetings, casual Discord calls, or a room where your router signal is strong. If the image stutters, lags behind your voice, or drops out, move closer to the router or switch to USB rather than lowering every quality setting first.
How to use your iPhone webcam in Windows apps
After the iPhone feed appears in the Windows companion app, most video programs treat it like a normal webcam. The virtual camera must stay active, so keep the phone app and desktop client open while you use Zoom, Teams, Google Meet, OBS, or Discord.
Select the iPhone camera in Zoom and Teams
In Zoom, open Settings and choose the iPhone webcam app under Video. In Microsoft Teams, go to Settings, then Devices, and select the same virtual camera from the camera dropdown.
Choose the webcam in Google Meet
Google Meet can use the iPhone camera through your browser once Windows sees the virtual webcam. Open the Meet settings, go to the video section, and select the webcam app as the camera.
If it is missing, refresh the meeting tab after the phone preview is already working in the desktop client. Browser tabs can hold on to old camera lists, especially if Meet was open before you connected the iPhone.
Add the iPhone camera in OBS and Discord
In OBS, add a Video Capture Device and choose the virtual camera created by your iPhone webcam app. In Discord, open Voice & Video settings and select the same source under camera.
For OBS, stability matters more because your PC may already be handling scenes, screen capture, game capture, or encoding. If the iPhone feed lags or freezes during recording, try USB first, then reduce resolution if needed.
How to improve iPhone webcam quality
The iPhone camera is only part of the result. Angle, lighting, stability, and app settings usually make a bigger difference than switching between similar webcam apps.
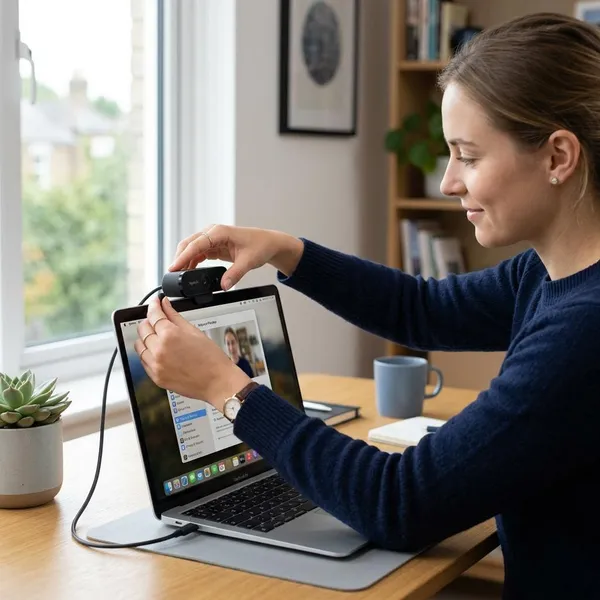
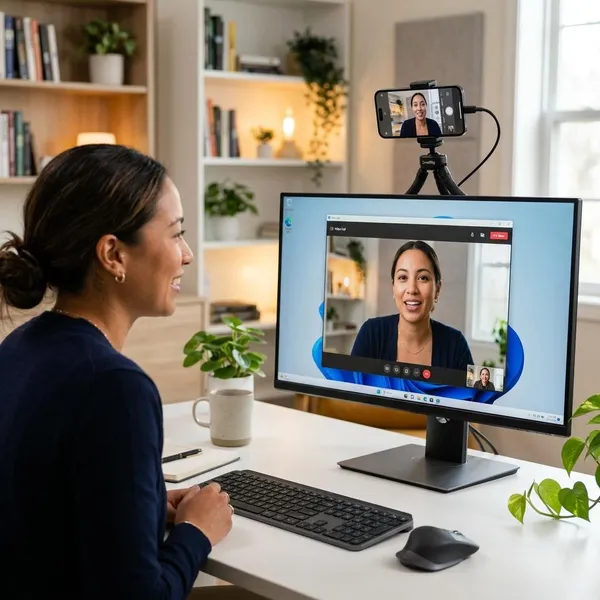
Fix the physical setup before chasing advanced settings. A stable mount, light in front of your face, and a camera near eye level can make the image look cleaner even at moderate resolution.
Use the rear camera when possible
The rear camera usually gives sharper detail and better color than the front camera. Use it for recordings, interviews, or any call where image quality matters more than seeing yourself on the phone screen.
The trade-off is framing. Do a short preview test and mark the phone position if you plan to repeat the same setup later.
Position the iPhone at eye level
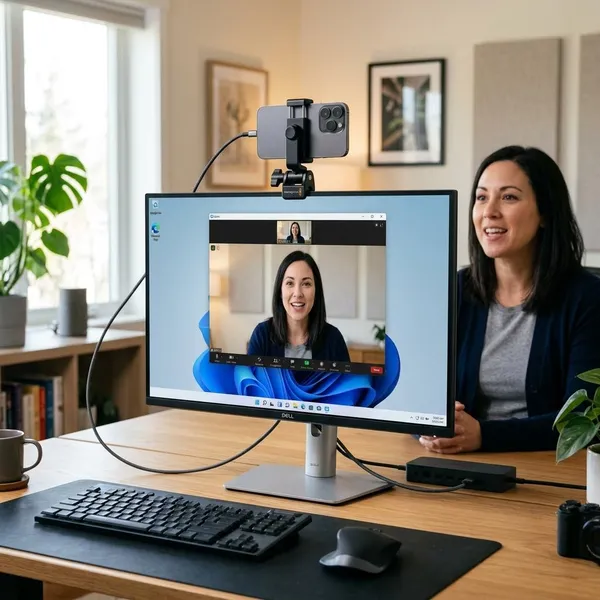
Place the iPhone close to eye level instead of leaving it low on the desk. A low angle can look awkward and unflattering, while eye-level framing feels more natural for meetings and remote conversations.
- Laptop-only desk: raise the phone on a small stand beside or above the screen.
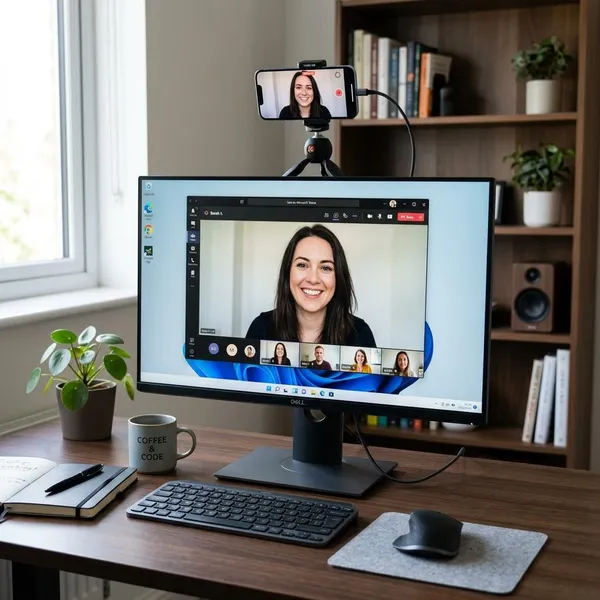
- External monitor: use a clamp or tripod near the top edge of the monitor.
- Standing or presenting: move the phone farther back so your upper body stays in frame.
Improve the lighting around your face
Put the strongest light in front of you, not behind you. A bright window or lamp behind your head can make your face look dark even with a good iPhone camera.
If the room looks flat or noisy, try moving a desk lamp slightly above and to the side of your monitor, then soften it by bouncing it off a wall or using a shade. The goal is not studio lighting; it is simply enough even light for the camera to expose your face properly.
Keep the phone stable with a mount
A mount is one of the simplest upgrades because it improves framing and reduces shake. Leaning the phone against books, mugs, or a laptop screen may work once, but it is annoying if you need the same setup every day.
Adjust resolution and frame rate when needed
Use the highest setting only if the video stays smooth. If the image freezes, audio drifts, the fan gets loud, or the app feels delayed, lower the resolution or frame rate before blaming the iPhone camera.
For many calls, a stable 720p or 1080p feed looks better than a higher setting that stutters. Streaming and OBS setups may need more testing because they put extra load on the PC, the network, and the webcam app at the same time.
Conclusion
Using an iPhone as a Windows 11 webcam is worth trying if your built-in camera looks soft, dark, or badly angled. Pick the app that matches your patience for setup, use USB when the call really matters, and fix lighting and phone position before spending time on advanced settings. Once the virtual camera appears reliably in your video apps, the iPhone can be a very practical webcam upgrade without buying another camera.