You can upgrade graphics card hardware at home if the new card fits your case, your power supply can feed it, and your motherboard has the right PCIe slot. Check those three things before touching a screwdriver, because most bad upgrades come from buying a card that is too large, underpowered, or connected to the wrong port afterward.
How to replace your graphics card
Start with the checks that can stop the upgrade before it begins. The card should fit the case, match a PCIe x16 slot, and have the power connectors your PSU actually provides. A small office tower may accept a basic low-power GPU but not a long triple-fan card, while a gaming case may have room but still need a stronger power supply.
- Case space: check card length, thickness, and whether nearby drive cages or front fans block it.
- Power supply: compare the GPU maker's PSU recommendation and required 6-pin, 8-pin, or newer power connector type.
- Monitor cable: confirm whether you will use HDMI or DisplayPort, especially for high refresh rate screens.
- Driver plan: prepare the official NVIDIA, AMD, or Intel driver before the swap if possible.
Shut down and unplug the PC
Shut Windows down fully, switch off the PSU if it has a rear switch, and unplug the power cable. Press the power button for a few seconds after unplugging to discharge leftover power, then move the PC to a stable surface with good light. Touch an unpainted metal part of the case before handling components, or use an anti-static strap if you have one.
Disconnect the old GPU power cables
Unplug any PCIe power cables from the old graphics card before loosening the card itself. Press the latch on each connector and pull straight out rather than wiggling hard. If the cables are stretched tightly across the case, free them now so the new card is easier to connect cleanly.
Unscrew and release the old graphics card
Remove the screw or screws holding the GPU bracket to the rear of the case. Keep one hand near the card while removing the last screw, especially with a heavy card, so it does not twist in the slot.
Look for the small retention clip at the end of the PCIe slot. Release it gently, then lift the card out with steady pressure. Avoid rocking the card from side to side, because that can stress the slot on the motherboard.
Insert the new GPU into the PCIe slot
Line up the new card with the main PCIe x16 slot, usually the top full-length slot on the motherboard. Press down evenly until the connector is fully seated and the retention clip locks. If it does not sit flat, stop and check the bracket alignment, loose cables, or blocked expansion slot covers instead of forcing it.
Secure the card and connect its power cables
Screw the card's rear bracket back into the case so it cannot sag or shift. Large cards may benefit from a support bracket if the case or GPU includes one, but the basic requirement is that the card sits level and firmly in the slot.
- Use PCIe power cables only: do not use CPU/EPS cables, even if the shape looks similar.
- Connect every required plug: a card with two power sockets needs both connected.
- Check the click: each connector should sit flush and latch securely.
Connect the monitor to the new graphics card
Plug the monitor cable into the ports on the new graphics card, not the motherboard video output. This is the easiest mistake to make after a GPU swap. For a 1080p office monitor, HDMI may be fine; for a 144Hz or 4K gaming monitor, DisplayPort or a newer HDMI cable may be needed to reach the expected resolution and refresh rate.
Turn the PC back on
Reconnect power, switch the PSU on, and start the computer. The first boot may take longer while the system initializes the new hardware. If Windows loads, expect a basic display until the proper driver is installed; if there is no image, check the monitor input, cable location, GPU seating, and power connectors before assuming the card is faulty.
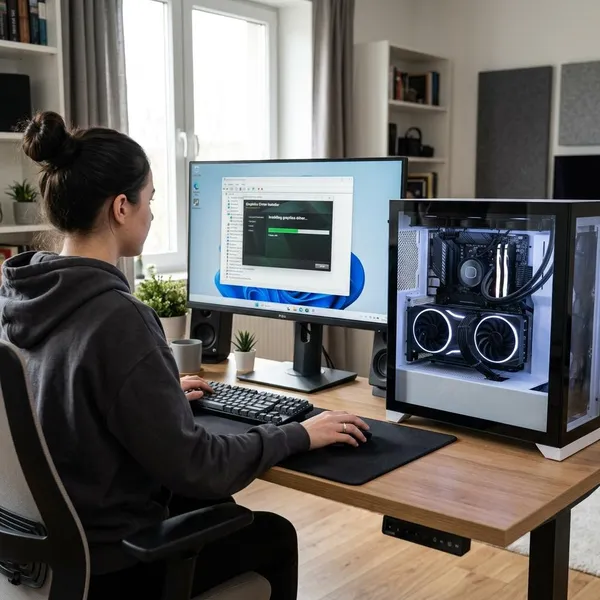
How to install drivers after a graphics card upgrade
The hardware swap only gets the card physically running. The driver is what gives you proper performance, display options, fan control, game support, and stability. Treat driver setup as part of the upgrade, not as an optional cleanup step.
- Install the official driver for the exact GPU and Windows version.
- Restart if the installer asks for it.
- Confirm the card appears by name in Windows or the GPU control app.
- Set your monitor back to its native resolution and intended refresh rate.
- Test a real workload before calling the upgrade finished.
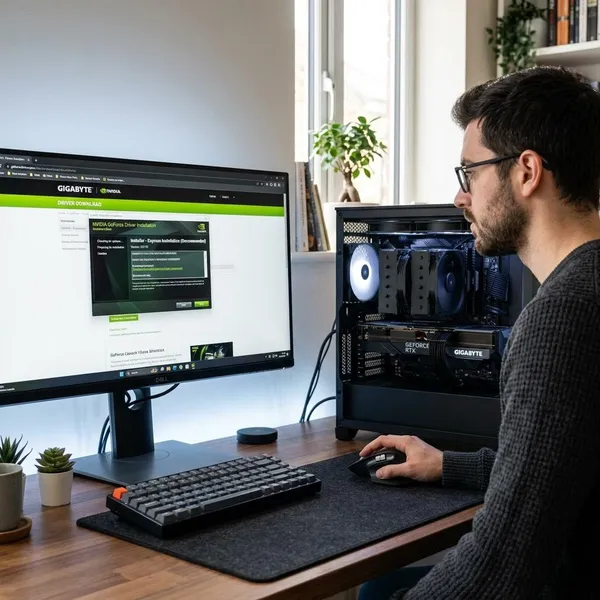
Download the latest driver from the GPU manufacturer
Use the official NVIDIA, AMD, or Intel support site rather than a random driver download page. Pick the driver for your exact card family and operating system. If the installer offers a clean installation option, use it when you have changed GPU brands or when the old system had graphics problems already.
Confirm the new graphics card is detected
Open Device Manager and check the Display adapters section, or use the GPU maker's app to see whether the new card appears by name. A desktop image alone is not proof that everything is working; Windows can show an image with a basic driver while the card still lacks proper acceleration.
Check display resolution and refresh rate
Windows may reset your display settings after a card change. Open the display settings, choose the monitor's native resolution, and check the advanced display menu for the refresh rate. A 144Hz monitor running at 60Hz can make a successful upgrade feel disappointing even when the GPU is working perfectly.
Test temperatures and system stability
Run a few games, a benchmark, or the creative app you actually upgraded for, then watch for crashes, black screens, artifacts, or unusual fan noise. Short casual use may only need a quick test, but a PC used for long gaming sessions, rendering, or streaming should be tested under sustained load. If temperatures seem unusually high, compare them with the card maker's expected range and check airflow before pushing the system harder.
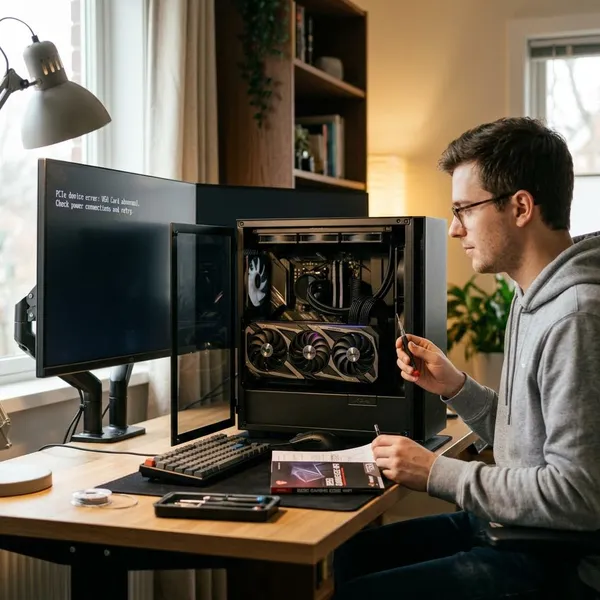
How to fix problems after upgrading your graphics card
Troubleshooting is easier when you follow the problem path in order: display connection first, card seating second, power third, drivers last. Changing five things at once makes it harder to know what fixed the issue, so start with the simplest checks.
| Problem after the upgrade | Check first | Likely next step |
|---|---|---|
| No signal | Monitor cable and input source | Try another GPU port or cable |
| Card not detected | PCIe seating | Reseat the GPU and check the slot |
| Crashes under load | GPU power cables | Compare PSU capacity with GPU requirements |
| Poor game performance | Driver and refresh rate | Clean reinstall the official driver |
Check display connections if there is no signal
Start with the monitor, not the motherboard. Confirm the display is powered on, set to the right HDMI or DisplayPort input, and connected directly to the graphics card. If the cable is in the motherboard port, the new GPU may be doing nothing even though the PC turns on.
When the connection looks correct but the screen stays black, try another cable or another port on the GPU. This is especially useful with high-resolution or high-refresh monitors, where an older cable can fail even though it worked on a previous setup.
Reseat the GPU if it is not detected
Power the PC down, unplug it, remove the card, and install it again with even pressure until the PCIe latch locks. While the card is out, check for dust, a blocked bracket, or a case edge that prevents the GPU from sitting level. After reinstalling, boot into Windows and check whether the card appears by name.
Recheck power cables if the PC is unstable
Random restarts, black screens during games, or crashes during rendering often point to power delivery. Make sure every required GPU power plug is connected, fully latched, and coming from the correct PSU cable type.
If the card is much more powerful than your old one, compare your PSU with the GPU manufacturer's recommendation. A system that is fine on the desktop can still fail under load if the PSU is too weak, too old, or missing the right connectors. For a daily gaming or work PC, do not treat borderline power as "good enough" just because it boots.
Reinstall drivers if games crash or perform poorly
Install the newest official driver again and choose a clean installation if available. If problems continue after switching brands, remove the old driver completely with a trusted cleanup tool such as Display Driver Uninstaller in Safe Mode, then install the current driver fresh. This is most useful when crashes, stutter, missing control panel options, or strange frame pacing began only after the GPU change.
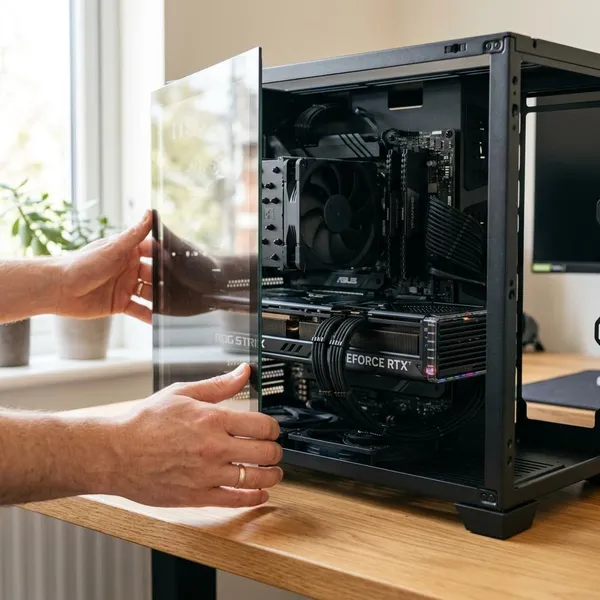
Conclusion
A graphics card upgrade is usually safe when you treat compatibility, power, and driver setup as the real work, not just the physical swap. If the card fits, has proper power, sits firmly in the PCIe slot, and runs on the correct driver, most problems become easy to narrow down instead of stressful guessing.