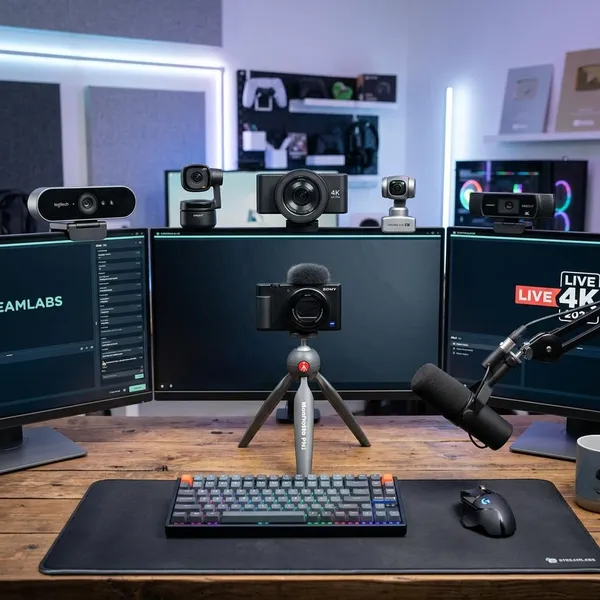
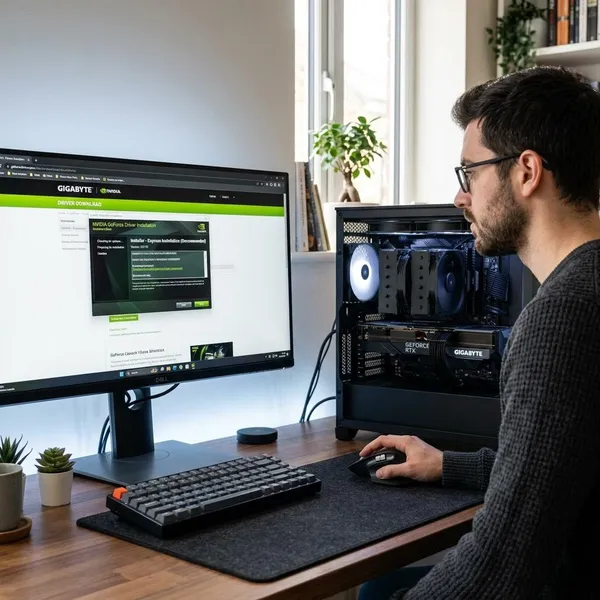
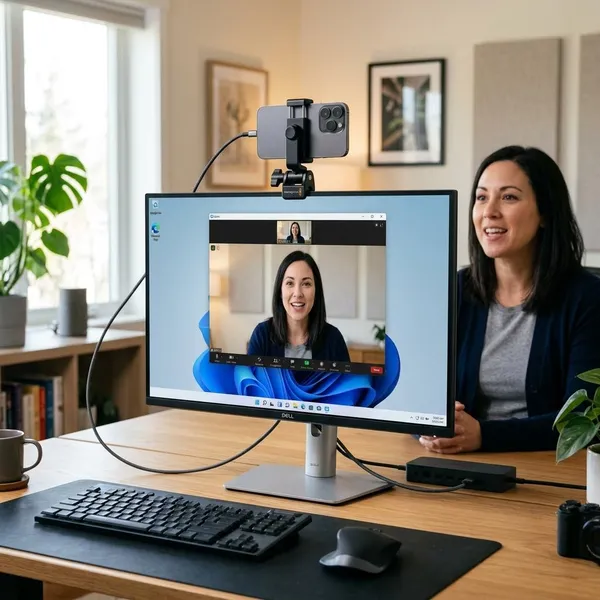
Setting up an external webcam is usually a plug-in, permission, and app-selection job—not a full technical project. Start with the physical setup first, then check privacy permissions, then choose the webcam inside the app you actually plan to use. If something fails, the most useful first checks are the USB connection, camera permissions, and whether the app is still using the built-in camera.
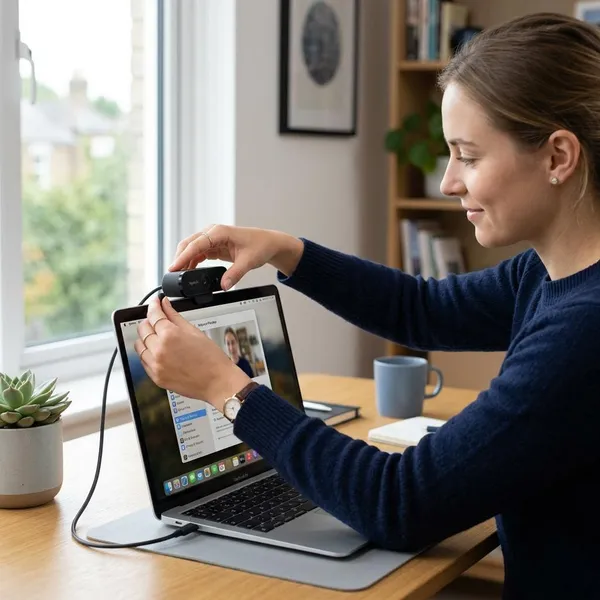
How to set up an external webcam
The simplest setup order is: place the webcam well, connect it directly, wait for detection, allow access, select it in your app, and test before a real call. That order matters because many "broken webcam" problems are really a loose connection, blocked permission, or the wrong camera selected in Zoom, Teams, Meet, or another app.
Mount the webcam securely
Place the webcam near eye level, usually on the top center of your monitor or laptop screen. A low desk angle can make video calls look awkward, even if the webcam itself is good.
- For occasional calls: a stable monitor clip is usually enough.
- For regular meetings or teaching: consider a small tripod or stand if the monitor shakes when you type.
- For product demos or streaming: use a mount that lets you adjust angle and distance without touching the screen.
Connect the webcam to your computer
Plug the webcam into a USB port on your computer. A direct connection is the safest first choice, especially if the webcam has a built-in microphone or higher-resolution video.
If you need an adapter, make sure it supports data transfer, not just charging. If the camera keeps disconnecting, move it away from a cheap hub or crowded dock and test it in a direct USB port before blaming the webcam.
Wait for the computer to detect it
Give Windows or macOS a short moment to recognize the webcam. Most modern external webcams are plug-and-play, so you usually do not need to install a driver before basic video works.
On Windows, you may see a device setup notification. On a Mac, the webcam may simply appear inside apps without a separate alert. If nothing happens, unplug it, try another port, and restart the computer if the device still does not appear.
Allow camera and microphone access
A connected webcam can still show a black screen if privacy permissions are blocked. Check camera access at the operating-system level first, then inside the app or browser you plan to use.
If the webcam includes a microphone, treat audio as a separate permission. It is common for video to work while the app still uses the laptop microphone, a headset, or no microphone at all.
Select the external webcam in your app
Open the app you want to use and choose the external webcam from its camera or device menu. Plugging in an external webcam does not always make a laptop switch away from the built-in camera automatically.
Test the video and audio
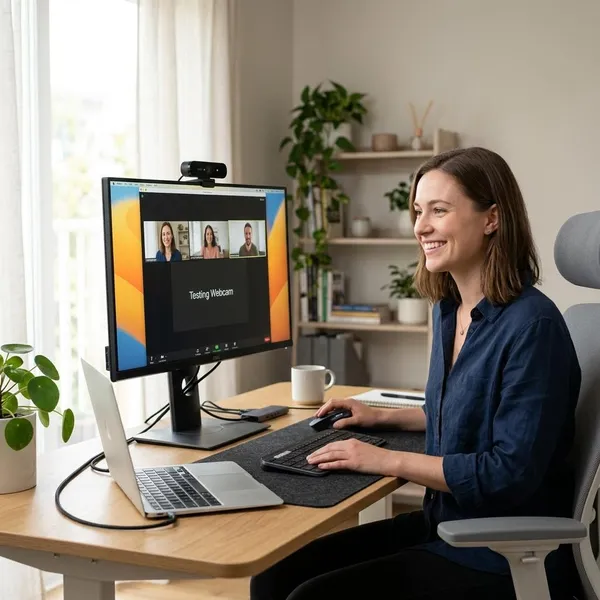
Test in the same app you plan to use for the call, class, recording, or stream. A webcam can work in the basic camera app but still need to be selected separately in Google Meet, Zoom, Teams, or another platform.
- Video: check framing, focus, lighting, and whether the image stays stable.
- Audio: speak normally and watch the input meter if the app has one.
- Background: remove anything distracting before an important meeting.
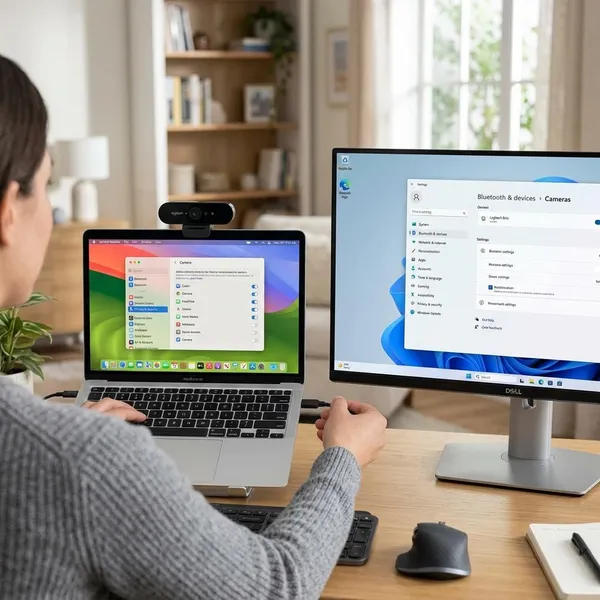
How to enable an external webcam on Windows and Mac
Enabling an external webcam usually means allowing camera access, not turning on a hidden hardware switch. If the webcam is detected but does not work in an app, check permissions before reinstalling software or replacing the device.
Allow camera access in Windows settings
On Windows, go to Settings > Privacy & security > Camera. Turn on camera access and make sure the app you want to use is allowed to access the camera.
If you changed the permission while Zoom, Teams, a browser, or the Camera app was already open, close and reopen the app. Some apps do not apply the new permission until they restart.
Allow camera access in macOS settings
On macOS, open System Settings > Privacy & Security > Camera, then allow the app that needs the webcam. If you denied access the first time an app asked, this is where you fix it.
For a work Mac or school-managed Mac, settings may be limited by admin controls. If the webcam works on another computer but not on that Mac, permission or management settings are more likely than a bad camera.
Enable camera access in your browser
Browser-based meeting tools need browser permission as well as system permission. If Google Meet or a web version of Teams cannot see the webcam, click the site controls near the address bar and allow camera access for that website.
- Refresh the page after plugging in the webcam.
- Check the site camera choice if both built-in and external cameras appear.
- Close other apps if the browser says the camera is already in use.
Check microphone permissions if needed
If your webcam has a built-in microphone, open the microphone privacy settings on Windows or macOS and allow the same app there too. Camera and microphone permissions are separate.
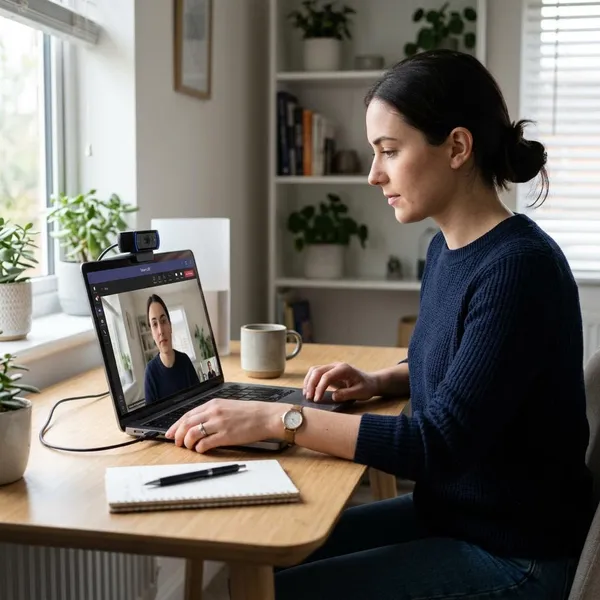
How to use an external webcam instead of the built-in camera
To use an external webcam instead of the built-in camera, choose it inside each video app. Your computer can recognize both cameras at the same time, but the app decides which one is active.
This is especially important if you move between a desk setup and laptop-only use. An app may remember the last camera, so a meeting that looked perfect yesterday can open with the built-in laptop camera today if the external webcam was disconnected earlier.
Select the external webcam in your camera app
Open a basic camera app first to confirm the webcam works outside your meeting software. On Windows, use the Camera app. On Mac, FaceTime or another camera-capable app can do the same job.
If the webcam works there but not in your meeting platform, the problem is probably not the cable or the webcam. Focus next on that app's camera selection, permission, or browser setting.
Switch cameras in Zoom and Microsoft Teams
In Zoom, open Settings > Video and choose the external webcam from the camera dropdown. During a call, you can also use the small arrow next to the video button to switch cameras.
In Microsoft Teams, go to Settings > Devices and select the external webcam under Camera. The pre-join screen is worth checking before important calls because Teams may keep the previous camera choice.
Choose the external webcam in Google Meet
In Google Meet, open Settings > Video and choose the external webcam from the camera list. If it does not appear, refresh the page after connecting the webcam and check that the browser has permission to use it.
Change the camera in other video apps
Most apps use the same basic pattern: open settings, find video or devices, then select the external webcam by name. Skype, Slack, Discord, OBS, and many recording tools handle camera choice this way.
If several cameras are listed and you are unsure which is which, unplug the external webcam and watch which option disappears. Reconnect it, choose that device, and run a short preview before going live.
Conclusion
A reliable webcam setup comes down to doing the checks in the right order: stable placement, solid USB connection, allowed permissions, correct app selection, and a quick test in the app you will actually use. If the webcam fails, start with the cable, port, permissions, and active camera choice before moving on to drivers or replacement; those simple checks solve most everyday setup problems.