If your handheld video looks shaky even when you are trying to move slowly, a 3 axis handheld gimbal stabilizer can make a noticeable difference. It steadies pan, tilt, and roll at the same time, so walking shots, tracking shots, and simple handheld clips look more controlled. It is not magic, though: the right gimbal still has to match your phone or camera, and poor balancing can make even a good model feel frustrating.
What does a 3 axis gimbal help with?
A 3 axis gimbal mainly helps when your hands are not enough to keep the camera steady. It uses motors and sensors to correct movement across three directions: pan for left and right, tilt for up and down, and roll for keeping the horizon level.
The biggest benefit is not just "less shake." It is more usable footage. A short family clip, a travel walk, or a product shot can feel calmer because the camera is not reacting to every small wrist movement.
Smoother walking shots
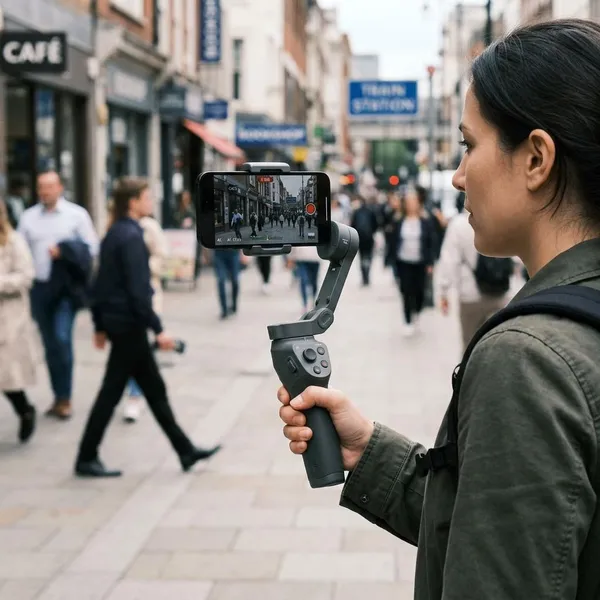
Walking is where many people first notice the value of a gimbal. It reduces the side wobble and small rotations that happen with each step, so travel walks, house tours, event clips, and street footage feel less jumpy.
It will not remove every up-and-down bounce. If you walk stiffly, the footage can still look heavy. Softer steps, slightly bent knees, and a wider lens usually help more than simply buying a stronger gimbal.
Steadier tracking shots
When you follow a child at a park, a dog in the yard, or a friend walking into an event, a gimbal helps you keep the frame from swaying every time your hands adjust. This is especially useful for solo filming because you can focus on timing instead of constantly fighting the camera.
More controlled camera movement
A gimbal also makes intentional movement easier. Slow pans across a room, gentle tilts up a building, or smooth product reveals look better when the camera responds gradually instead of jerking with your wrist.
More stable handheld video
Even when you are standing mostly still, a gimbal can reduce small hand tremors. That helps with interviews, cooking clips, quick product demos, and social videos where a tripod would slow you down.
If you usually film one short clip at a time, this added stability may be enough. If you record long events or paid work, you should also think about fatigue, battery life, and whether a tripod or monopod would be better for parts of the shoot.
Types of 3 axis handheld gimbals
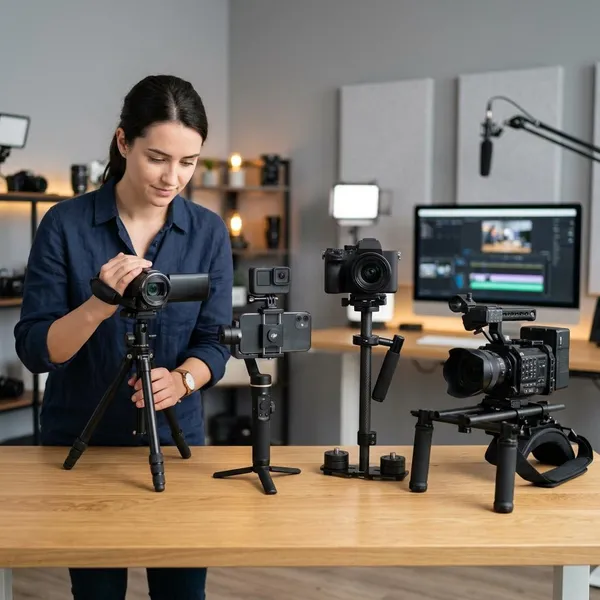
The right type depends on what you actually film with, not on which gimbal has the longest feature list. A phone gimbal is quick and light, while a camera gimbal gives more room for lenses and accessories but takes more effort to balance.
Smartphone gimbals
Smartphone gimbals are the easiest starting point. They are usually compact, quick to mount, and simple to carry on a day trip or vacation. Many also work well for vertical video, which matters if you mainly post short-form content.
The main thing to check is physical fit. A thick phone case, large camera bump, or add-on lens can make balancing harder, even if the phone technically fits inside the clamp.
Action camera gimbals
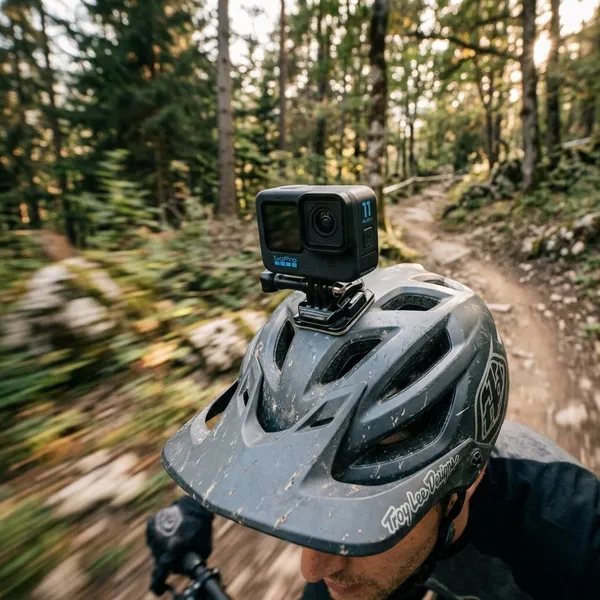
Action camera gimbals are made for small rugged cameras, but they are not always necessary now that many action cameras have strong internal stabilization. They still make sense if you want smoother panning, controlled follow shots, or a less "digital stabilization" look.
For a weekend hike or travel day, ask whether carrying one more device is worth it. If your action camera already gives footage you like, a gimbal may be optional rather than essential.
Mirrorless camera gimbals
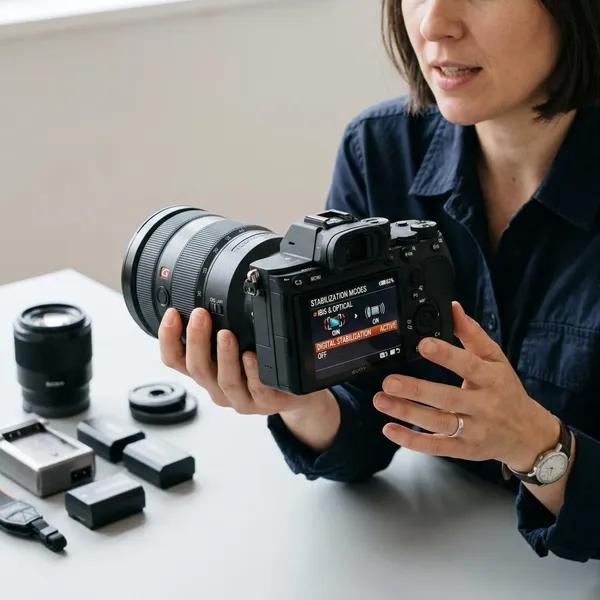
Mirrorless camera gimbals are a good middle ground for creators who want better image quality than a phone without carrying a full cinema rig. They work well for travel filmmaking, YouTube videos, small events, and indoor clips where lens choice or low-light performance matters.
The tradeoff is setup time. A small prime lens may balance quickly, while a heavier zoom can make the same gimbal feel much less convenient.
DSLR and cinema camera gimbals
DSLR and cinema camera gimbals are built for heavier bodies, larger lenses, and accessories such as monitors or focus motors. They are powerful, but they can be tiring and slow to rebalance.
This type is usually best for people who already know they need a larger camera setup. For occasional family videos or simple travel clips, it is often more gimbal than you need.
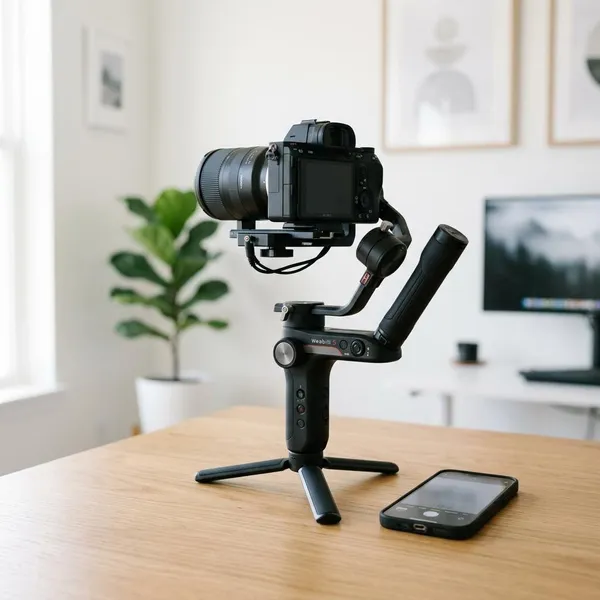
How to choose a 3 axis handheld gimbal
Choose the gimbal that fits your real filming routine. If you only want smoother phone clips on holidays, portability and fast setup matter more than advanced modes. If you film events or client work, payload, battery life, balancing, and accessory support become much more important.
Check device compatibility
Compatibility should be your first filter. For phones, check width, thickness, case size, and whether the camera bump affects balance. For cameras, check the body, lens, mounting plate, and whether the camera can tilt or roll without hitting the gimbal arms.
Do not rely only on a general weight claim. Look for your exact phone or camera model on the manufacturer's compatibility list, especially if you want app controls, Bluetooth features, or camera start-stop control.
Check payload capacity
Payload capacity matters most for camera setups. Add the camera body, lens, filter, microphone, small light, or any other accessory you plan to mount. A setup that sits right at the limit may work on paper but strain the motors in real use.
A safer choice is to leave some headroom. That usually means fewer overload warnings, smoother movement, and less frustration during longer shoots.
Compare battery life
Battery life should match your longest normal filming session, not the best-case number on the box. A short home video is easy. A travel day, wedding, school event, or repeated product shoot can drain power faster, especially with tracking features or a heavier setup.
Look at size and portability
A smaller gimbal is often the better gimbal if you will actually carry it. Foldable smartphone models are easy to bring on walks or trips, while larger camera gimbals need more bag space and more setup patience.
For occasional use, convenience may matter more than maximum performance. For longer planned shoots, a larger handle, stronger motors, or mounting options may be worth the extra weight.
Compare follow and tracking modes
Follow modes decide how the camera reacts when you move the handle. Lock mode keeps the camera pointed in one direction, pan follow allows gentle turns, and full follow gives more responsive movement.
- Solo filming: face or subject tracking can help keep you framed.
- Walking shots: lock mode or pan follow usually feels calmer.
- Fast subjects: tracking quality matters more than the feature name.
Check balancing and setup
Easy balancing is easy to underestimate. A gimbal that takes too long to prepare can ruin spontaneous filming, especially when you are with family, traveling, or trying to catch a quick moment.
If you are a beginner, look for clear axis locks, simple adjustment marks, and a setup process that works with your device. Good balance reduces vibration and helps the motors work less hard.
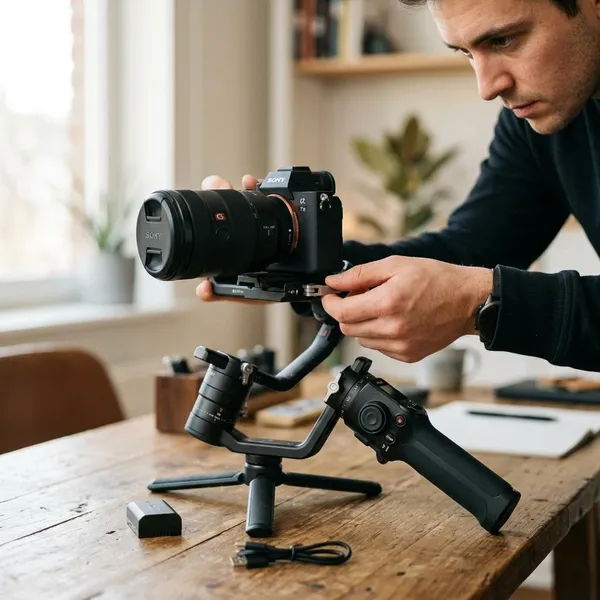
How to set up a 3 axis gimbal
Setup is where many shaky gimbal clips begin. The basic order is simple: mount the device, balance the axes, power on, calibrate only if needed, then test the movement mode before recording anything important.
The key rule is to balance before turning the gimbal on. If the camera or phone is already close to level while the gimbal is off, the motors do less work and the footage usually looks smoother.
Mount your phone or camera
Attach your device securely before powering anything on. With a phone, center it in the clamp and remove a bulky case if it prevents a firm fit. With a camera, attach the lens and any must-use accessories first, because every added item changes the balance.
Balance the three axes
Balance tilt, roll, and pan according to your model's instructions. A useful check is whether the device stays roughly in place when the gimbal is off instead of dropping sharply to one side.
If it keeps falling, keep adjusting. Turning on the motors too early can lead to buzzing, vibration, weak movement, or overload warnings.
Power on the gimbal
Once the setup is balanced, power on the gimbal and let it settle. The camera should level itself smoothly. If it shakes hard or makes a strained noise, turn it off and fix the balance before trying again.
Calibrate if needed
Calibration is not always required. Use it when the horizon looks tilted, the gimbal drifts while standing still, or the model has just been transported, updated, or bumped. Most modern gimbals handle this through an app or onboard menu.
Test each movement mode
Test modes before you film the moment you care about. Walk a few steps, turn slowly, and try the mode you plan to use. Lock mode often works well for straight movement, while pan follow feels more natural when you need gentle turns.
Conclusion
A gimbal is worth buying when movement is the reason your footage looks rough, not when you simply need a camera to sit still. Start by matching it to your exact device, then judge payload, setup effort, battery life, and portability around the way you really film. The best choice is the one you will actually balance, carry, and use when a smoother handheld shot matters.