If you're trying to change webcam settings on a Mac within Photo Booth, the main thing to know is that there is no advanced settings panel for exposure, zoom, or focus. The useful controls are spread across the Camera menu, the Edit menu, and a few keyboard shortcuts, so start by choosing the right camera, then check flipping, countdown, flash, and connection issues only if needed.
How to switch cameras in Photo Booth
Camera selection is the most important setting in Photo Booth. If you use only your MacBook camera, you may never touch it, but it matters as soon as you connect a USB webcam, a monitor with a built-in camera, or an iPhone through Continuity Camera.
Connect the external camera
Plug in the webcam before you open Photo Booth, or reconnect it if the app is already open and does not notice it. For a USB camera, test with a direct Mac port first if possible; hubs and cheap adapters are a common reason a camera appears once and then disappears.
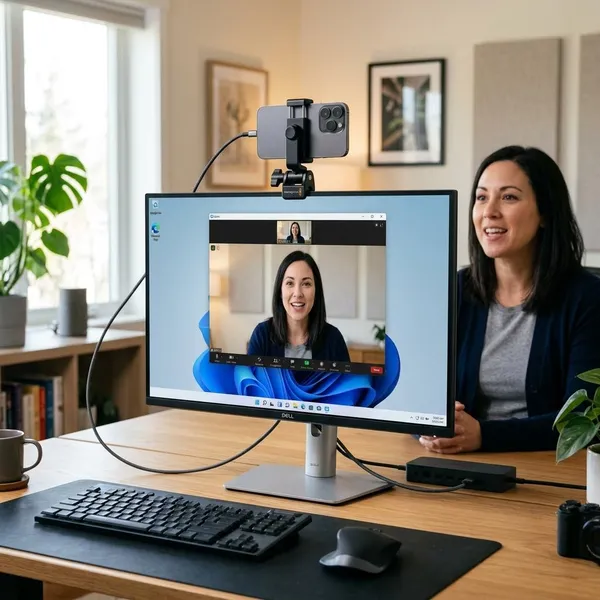
If you want to use an iPhone, keep it nearby and make sure it is available for Continuity Camera. This is a good option for a quick profile photo or sharper video clip, but it is less convenient if you need a camera that stays fixed on a desk all day.
Open the Camera menu
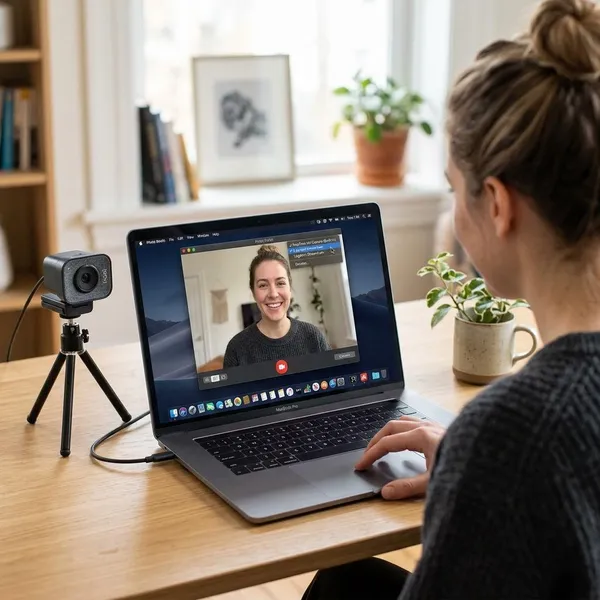
Open Photo Booth, then click Camera in the Mac menu bar at the top of the screen. Photo Booth does not place camera selection inside a separate preferences window, so this menu is the place to check first.
Choose the camera you want to use
- Click Camera in the menu bar.
- Select the camera name you want to use.
- Wait a few seconds for the preview to switch.
- Confirm the image before taking a photo or recording a clip.
Check the live preview
The live preview is your quickest quality check. Look at framing, brightness, background, and the camera angle before you capture anything.
A built-in Mac camera may be fine for a quick test shot, while an external webcam is often better for a desk setup where the Mac is closed or off to the side. If the preview looks too wide, too dark, or pointed at the wrong angle, switching cameras alone will not fix the result—you may need to move the camera or improve the room lighting.
How to flip the camera image
Photo Booth can show a mirror-like preview, and that can make the saved photo feel confusing. The practical question is whether the final image looks right, especially when text, logos, or left-right direction matters.
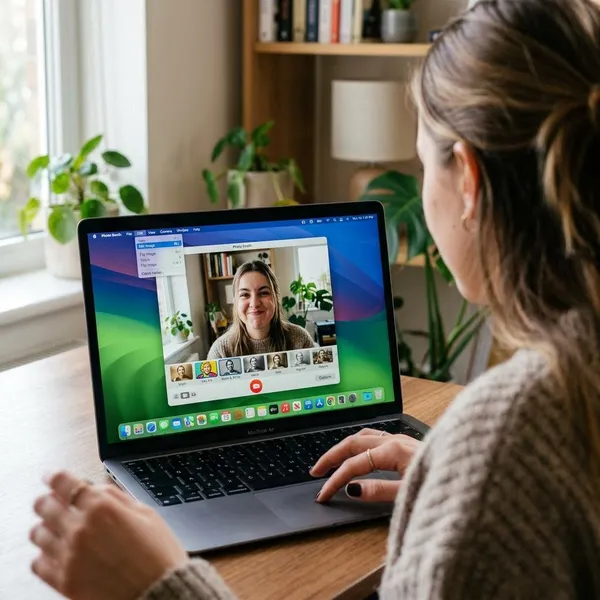
Flip an existing photo
If one saved photo looks reversed, select it in Photo Booth and use the flip option from the app menu. This is the simplest fix when you have already taken the picture and only need to correct that file.
Use this for one-off situations, such as a photo where you are holding a note, a label, or anything with readable text. If every new photo needs the same correction, changing the behavior for new items is usually less frustrating.
Auto flip new photos and videos
For repeated captures, look for the option to auto flip new items in Photo Booth's menus. The wording can vary slightly by macOS version, but it is designed for future photos and videos rather than just the file you already selected.
- Use manual flip when only one saved image is wrong.
- Use auto flip when you are taking a batch of similar photos.
- Test once if the image includes text or a left-right demonstration.
Understand mirrored previews and saved images
A mirrored preview feels natural because it behaves like a bathroom mirror. The saved image may not always match what you saw while posing, which is why hair parting, logos, and text can seem to "move" sides.
How to change the countdown and flash
Photo Booth's countdown and flash controls are useful, but they are easy to miss because some of them work through modifier keys. Use them differently depending on whether you are posing for a finished photo or just testing a webcam setup.
Turn off the countdown with the Option key
Hold Option while clicking the capture button to skip the countdown. This is best for quick testing, such as checking whether a new webcam angle works or comparing lighting without waiting between every shot.
Turn off the flash with the Shift key
Hold Shift while taking a photo to avoid the screen flash for that capture. This helps when the bright white flash is distracting, creates glare on glasses, or feels unnecessary because the room is already well lit.
Enable or disable Screen Flash
For a more permanent change, use the Screen Flash option in the Photo Booth menus. If you often take casual photos at night, try one image with it on and one with it off; compare glare, skin tone, and shadows rather than assuming the flash is always better.
Turn off both countdown and flash
Hold Option and Shift together while clicking the capture button if you want to skip both the timer and the flash. This is the fastest setup for repeated test shots, but for a posed photo you may still want the countdown so you have time to settle into the frame.
Why your webcam is not showing in Photo Booth
If a webcam does not appear in Photo Booth, check in this order: the physical connection, the Camera menu, other apps using the camera, and then connection stability. That order saves time because most problems are caused by something simple before they are caused by a broken camera.
External camera is not connected
Unplug the webcam and connect it again firmly. If you are using a dock, hub, or adapter, test the camera directly with the Mac or with a different port. A camera can receive enough power to light up but still fail to send a stable video signal.
Camera does not appear in the Camera menu
Close and reopen Photo Booth, then check Camera again. If the webcam still does not appear, try it in FaceTime or another video app; working elsewhere points to a Photo Booth or macOS handoff issue, while failing everywhere points more toward the device, cable, adapter, or system detection.
Another app is using the camera
Quit apps that may already be holding the webcam, such as Zoom, FaceTime, Teams, a browser meeting tab, or recording software. Do not just close the window if the app is still running in the Dock.
This is especially common after a video call. Photo Booth may open normally but show a blank or frozen preview because the previous app has not released the camera cleanly.
Camera connection is unstable
An unstable camera feed usually behaves inconsistently: it appears, freezes, disappears from the Camera menu, or works only until you move the cable. Try a shorter cable, fewer USB devices, a different adapter, or a more stable position for an iPhone used as a webcam.
- For a quick photo: reconnect once and reopen Photo Booth.
- For regular use: avoid unreliable hubs and keep the camera on a stable port.
- For iPhone camera use: keep both devices close and restart both if the feed keeps dropping.
Conclusion
Photo Booth does not give you deep webcam controls, but it gives enough control for everyday Mac use if you know where to look. Choose the correct camera first, use flip settings only when the saved image is wrong, and treat countdown, flash, and connection checks as practical fixes rather than settings you need to adjust every time.