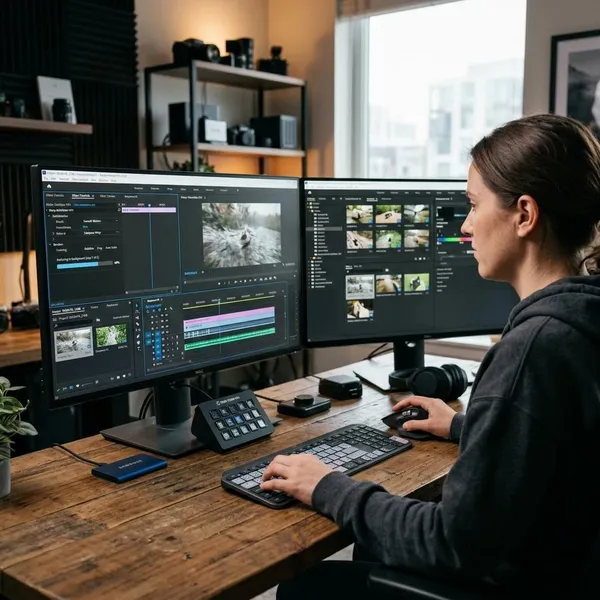
The quickest way to learn how to stabilize video in After Effects is to start with Warp Stabilizer VFX, then switch to Stabilize Motion only when the automatic result bends, crops, or wobbles too much. Most everyday handheld clips need a light correction, not a perfectly locked frame, so judge the result by how natural it looks in playback.
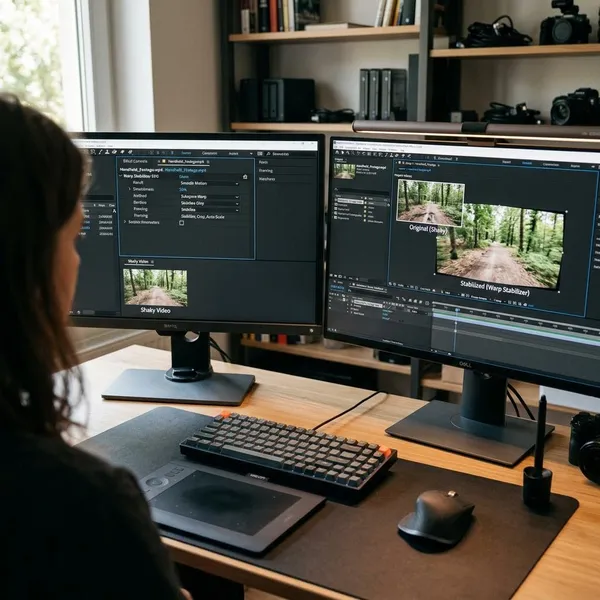
Which stabilization method should you use in After Effects?
Choose the method based on the problem you see in the footage. Warp Stabilizer VFX is the faster first test for mild handheld shake, while Stabilize Motion is better when you need to tell After Effects exactly which feature should stay steady.
| Footage situation | Better first choice | Why |
|---|---|---|
| Light handheld shake in a travel clip or casual phone video | Warp Stabilizer VFX | Fast, usually good enough, and easy to adjust |
| Product shot, interview angle, or clip that should feel almost tripod-stable | Warp Stabilizer VFX, then test No Motion carefully | Can work well, but may crop more aggressively |
| Shot with a clear building corner, sign, label, or other fixed detail | Stabilize Motion | Point tracking can be cleaner and more predictable |
| Fast pan, rolling shutter wobble, or foreground objects moving across the frame | Manual tracking or a gentler Warp Stabilizer setup | Automatic warping can make these shots look worse |
How to stabilize video with Warp Stabilizer VFX
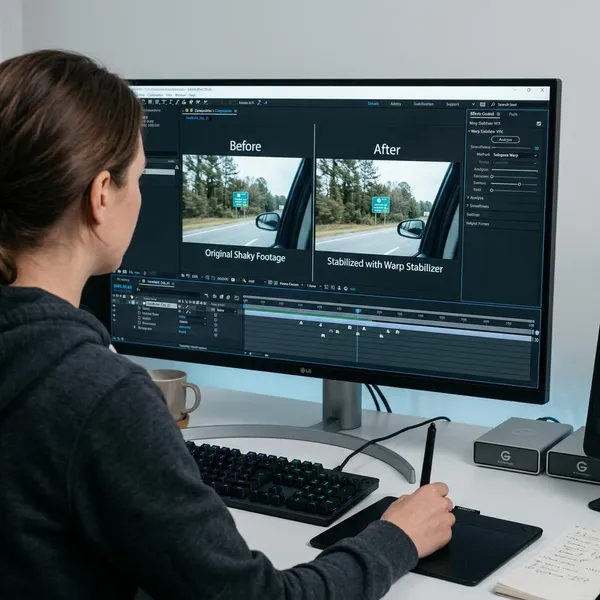
Warp Stabilizer VFX is the best starting workflow for most shaky clips because it analyzes the footage automatically. The important part is not just applying the effect, but keeping the correction gentle enough that the shot still feels believable.
Select the footage layer
Import the clip, place it in a composition, and select the actual footage layer in the timeline. If only a short section is shaky, trim or split the layer first so After Effects does not waste time analyzing parts you will not use.
If the layer already has several effects, speed changes, or heavy transformations, pre-compose it before stabilizing. A cleaner layer gives Warp Stabilizer fewer reasons to throw an analysis error or produce an odd result.
Apply Warp Stabilizer VFX
Open Window > Effects & Presets, search for Warp Stabilizer VFX, and drag it onto the selected footage layer. After Effects starts analyzing automatically, so wait for the status message in the Composition panel instead of looking for a separate tracking button.
Let After Effects analyze the footage
Let both the analysis and stabilization passes finish before judging the clip. A half-processed preview can look broken even though the effect has not completed its calculation.
Long 4K clips, detailed textures, and slower hardware can make this step feel slow. If you are only fixing a three-second shake inside a longer shot, splitting that section first is usually the simplest time saver.
Choose Smooth Motion or No Motion
Smooth Motion reduces shake while keeping some camera movement. That is usually the better choice for handheld travel footage, walking clips, family video, and natural b-roll.
No Motion tries to lock the frame in place. It can work for a product shot or an interview angle that should feel static, but it often needs more cropping and can reveal distortion sooner. If the result feels strangely frozen, go back to Smooth Motion.
Adjust Smoothness and preview the result
The Smoothness setting controls how strongly After Effects corrects the movement. Higher is not automatically better; it often means more zoom, more crop, and a greater chance of warping.
- Start modestly: try a lower value before pushing the effect harder.
- Watch in motion: single frames do not reveal floating or rubbery movement.
- Check edges: heavy cropping can ruin the composition even if the shake improves.
- Compare versions: the best take is often the one that is smoother but still feels handheld.
How to improve Warp Stabilizer results
If the first Warp Stabilizer pass looks bad, do not assume the clip is unusable. Most problems come from overcorrection, the wrong motion model, or framing that crops too much of the image.
Lower Smoothness for more natural movement
Lower Smoothness when the footage looks too stiff, too zoomed in, or unnaturally floaty. A walking shot, for example, may look more believable with a small amount of remaining motion than with every bit of camera movement removed.
Switch to a simpler Method if the image warps
The default method can sometimes bend the frame because it allows complex deformation. If straight lines ripple or faces stretch, try Position, Position, Scale, Rotation, or Perspective instead of a more aggressive warp-based option.
A simpler method may leave a little more shake, but that trade-off is often worth it. Slight movement usually looks better than a smooth shot with obvious digital distortion.
Use Detailed Analysis for difficult footage
Detailed Analysis is worth testing when the result is close but still slips in parts of the shot. It asks After Effects to inspect the motion more carefully, which can help with subtle shake or footage where the first pass almost works.
Use it selectively. It increases processing time, so it makes more sense for an important clip than for a disposable background shot.
Adjust Framing when the shot is cropped too much
Stabilization needs room to move the image around, which is why cropping appears. If too much of the frame disappears, reduce Smoothness first, then test a less aggressive Method or Framing option.
Do not keep scaling up just to hide borders. If a person's head, product label, or key background detail gets cut off, the stabilized version may be less useful than the original shaky shot.
Reduce rolling shutter distortion when needed
Rolling shutter looks different from normal shake: vertical lines may lean, wobble, or bend during fast movement. Phone footage, action cameras, and lightweight cameras can show this especially during quick pans.
Try the rolling shutter controls if the footage has mild skew, but keep expectations realistic. Severe rolling shutter plus motion blur is hard to repair cleanly, and manual tracking will not fully solve sensor distortion either.
How to stabilize video with Stabilize Motion
Stabilize Motion is the better route when you want controlled, point-based stabilization. It takes longer than Warp Stabilizer, but it is easier to diagnose because you can see exactly what After Effects is tracking.
Open the Tracker panel and choose Stabilize Motion
Select the footage layer, then open Window > Tracker and click Stabilize Motion. After Effects adds track controls to the clip so you can define the feature it should follow.
This method is especially useful on a shot where the scene itself is mostly stable but the camera jitters, such as a handheld shot of a building facade, a label on a box, or a fixed sign in the background.
Choose the motion properties to stabilize
Enable only the motion properties the shot actually needs. Start with Position for side-to-side or up-and-down shake, add Rotation if the frame tilts, and use Scale only when the camera distance visibly changes.
- Position only: best first test for simple jitter.
- Position and Rotation: useful when the camera twists slightly.
- Position, Rotation, and Scale: reserve for shots with clear distance change.
Place the track points on clear features
Pick a sharp, high-contrast feature that stays visible for the whole section. Corners, printed marks, signs, window frames, and textured architectural details are usually better than faces, reflections, shadows, or moving clothing.
If the feature leaves the frame or gets covered, the track can drift. For a longer clip, it is often smarter to stabilize a shorter usable section than to force one track point through a messy shot.
Analyze the motion and check the track
Click Analyze Forward, then watch the tracking point instead of assuming it stayed locked. If it slips onto another object, stop and fix the point before applying the data.
Check the middle and end of the clip, not only the first few frames. Tracks often fail when motion blur increases, lighting changes, or something passes in front of the target.
Apply the tracking data
When the track follows the feature correctly, confirm the target if needed, click Apply, and choose the X and Y axes unless you only want to correct one direction. After Effects uses that tracked movement to offset the layer and reduce shake.
Reframe the shot to hide exposed edges
Manual stabilization can reveal black borders because the layer moves to counter the original camera shake. Scale the footage just enough to hide those edges, then preview the shot in motion.
If the crop becomes too strong, do not keep zooming in blindly. Try a better track point, stabilize a shorter section, or accept a little remaining movement so the framing and image quality survive.
Conclusion
The best stabilization choice is the one that makes the clip easier to watch without making the fix obvious. Start with Warp Stabilizer VFX for normal handheld shake, keep the settings modest, and move to Stabilize Motion when you need a cleaner point-based track. If the shot has extreme shake, heavy motion blur, or severe rolling shutter, aim for improvement rather than perfection.