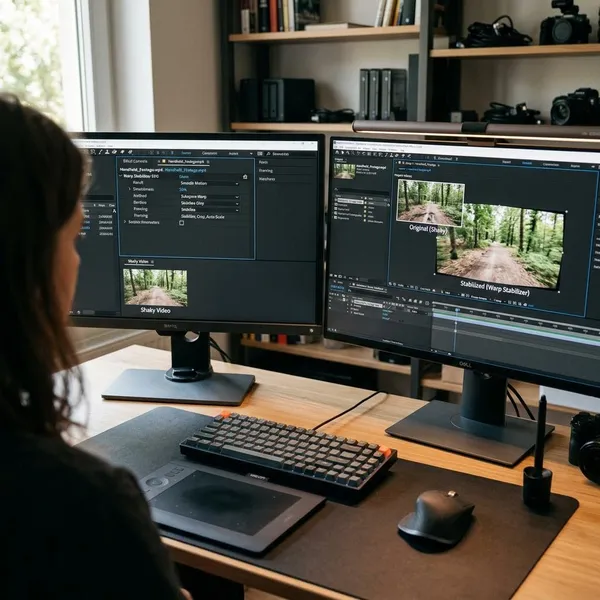
If your shot is watchable but a little shaky, Warp Stabilizer is usually the quickest answer for how to stabilize video in Premiere. Trim the clip first, apply the effect, then judge the result before pushing the settings harder; most bad-looking stabilizations come from trying to remove too much movement.
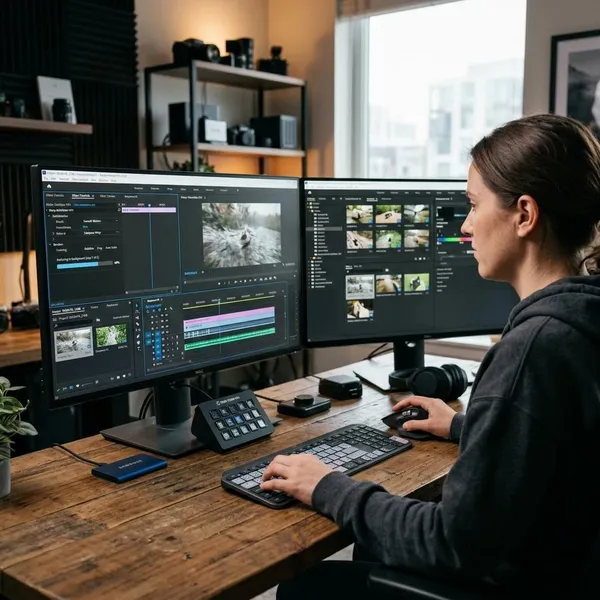
How to stabilize video with Warp Stabilizer
Warp Stabilizer works best when Premiere has a clean, trimmed clip to analyze. A short handheld vlog shot, a casual travel clip, or a slightly shaky interview angle can often be improved in a few minutes. Footage with fast pans, heavy motion blur, or a subject crossing very close to the lens may still improve, but it may not become perfectly steady.
Select the shaky clip in your timeline
Click the exact clip you want to fix in the timeline, then trim it to the usable section before adding the effect. This saves analysis time and keeps Premiere from stabilizing shaky setup frames, camera bumps, or extra handles that will never appear in the final edit.
If the clip already has position, scale, rotation, or reframing changes, keep the workflow simple: stabilize the clean trimmed shot first when possible, then make creative framing adjustments after you know the stabilized version works.
Apply Warp Stabilizer from the Effects panel
Open Window > Effects, search for Warp Stabilizer, and drag it onto the selected clip. Premiere starts analyzing automatically, so there is no separate setup window to confirm.
Treat the first result as a draft, not a final answer. A walking phone clip may look better immediately, while a shot with buildings, shelves, or a horizon line may reveal bending once you play it back.
Let Premiere analyze the footage
When the analysis banner appears, wait for it to finish before trimming, resizing, nesting, or retiming the clip. Changing the clip during analysis can force Premiere to start again or create avoidable errors.
- Short 1080p clips: usually finish quickly.
- Long 4K clips: can take noticeably longer.
- Noisy or blurry footage: may analyze less accurately because Premiere has fewer clean details to track.
Review the stabilized result
Play the shot back at a quality high enough to see the edges of the frame. Do not judge only by whether the shake is reduced; also look for zoomed-in framing, bent straight lines, rubbery faces, or a drifting "floating camera" feeling.
How to adjust Warp Stabilizer for better results
The default Warp Stabilizer settings are often too strong for natural handheld footage. Better results usually come from reducing the correction, choosing the right motion goal, and switching methods when the image starts to bend.
Think about the shot before touching every control. A handheld travel clip should usually keep a little movement. A locked interview angle or product shot can tolerate a more static look. A city scene with straight lines needs protection from warping more than it needs perfect stillness.
Lower Smoothness for more natural movement
If the clip looks over-processed, start by lowering Smoothness. Premiere often begins around 50%, but mild handheld shake frequently looks better around 10% to 20%. The goal is not always to erase movement; it is to remove the bumps that pull attention away from the shot.
This matters most with vlogs, family clips, behind-the-scenes footage, and travel shots where some camera motion feels normal. A slightly moving frame can look more believable than a heavily cropped shot that seems to float.
Choose Smooth Motion or No Motion
Smooth Motion keeps some of the original camera movement and is usually the safer choice for handheld footage. No Motion tries to hold the frame still, which can work for an interview, a product shot, or a scenic frame that was supposed to look like it came from a tripod.
| Shot type | Better starting choice |
|---|---|
| Walking clip, vlog, travel footage | Smooth Motion |
| Static interview or product shot | No Motion, if the frame is not drifting too much |
| Deliberate pan or push-in | Smooth Motion, because No Motion may fight the intended move |
Change the stabilization Method when needed
When the image bends, check Method. Subspace Warp can be powerful, but it may distort walls, door frames, horizons, and faces. Switching to Position, Scale, Rotation often leaves a little more motion while keeping the picture cleaner.
Use Detailed Analysis for difficult footage
Detailed Analysis is worth trying when the standard pass still feels rough after you have lowered Smoothness and checked the Method. It takes longer, so save it for clips where the shot is important enough to justify the extra processing time.
Adjust Rolling Shutter Ripple for visible wobble
If the clip looks wavy or jello-like after stabilization, the problem may be rolling shutter rather than normal shake. Phone footage, lightweight mirrorless cameras, and action cameras can show this during quick movement. Try Rolling Shutter Ripple > Enhanced Reduction when the frame is steadier but still seems elastic.
How to fix warped or overly cropped footage
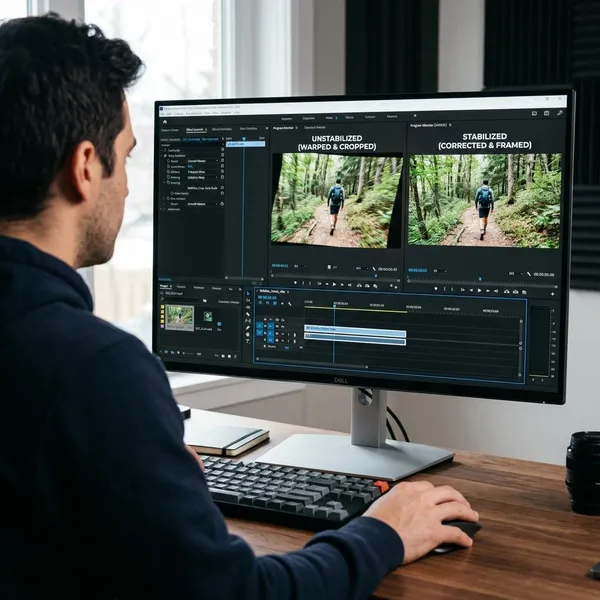
Warp Stabilizer has to move and scale the image to hide shaky edges. That is why a stronger correction often means a tighter crop. The practical fix is to decide what matters more for the shot: less shake, cleaner geometry, or preserving the original framing.
- Too zoomed in: lower Smoothness first.
- Bent edges or rubbery background: switch away from Subspace Warp.
- Errors after resizing or speed changes: try nesting the clip.
- Subject too close to the edge: accept some movement rather than cropping into the subject.
Reduce the Smoothness setting
Heavy cropping is usually a sign that the stabilization is working too hard. Drop Smoothness in small steps and replay the clip. Moving from 50% to 15% can often keep the shot usable without making the frame feel digitally squeezed.
This is especially important for close-up faces, food shots, product clips, or anything already framed tightly. Losing the edge of the subject is worse than leaving a little natural handheld motion.
Try Position, Scale, Rotation instead of Subspace Warp
Switch to Position, Scale, Rotation when the shot looks warped rather than simply shaky. This method avoids many local distortions, so it is a strong first fix for interiors, streets, shelves, windows, and horizon-heavy footage.
The tradeoff is normal: the clip may not become as smooth, but it often looks more trustworthy. A clean image with mild movement usually beats a stable image that bends.
Adjust the framing and crop settings
Check the framing options in Effect Controls when the composition matters more than perfect stabilization. If the source is already tight, do not let Premiere crop into a face, title, product label, or important background detail just to remove a small amount of shake.
For a casual social clip, a tighter crop may be fine. For a client edit, tutorial shot, or product video where the frame contains important information, protect the composition first and use gentler stabilization.
Nest the clip when its dimensions do not match the sequence
Use Nest when the clip has been scaled, repositioned, speed-changed, or placed in a sequence with different dimensions. Right-click the clip, choose Nest, then apply Warp Stabilizer to the nested version.
This is a common fix for vertical phone footage inside a horizontal sequence, resized screen recordings, or clips with time remapping. Nesting gives Premiere a cleaner source to analyze, so the stabilizer is less likely to conflict with existing edits.
Conclusion
Good stabilization in Premiere is usually a restrained fix, not the strongest possible setting. Trim the shot, apply Warp Stabilizer, then check crop, warping, and motion before accepting the result. If the clip starts to look artificial, lower Smoothness or use a simpler method; a little real camera movement often looks better than a perfectly steady but damaged frame.