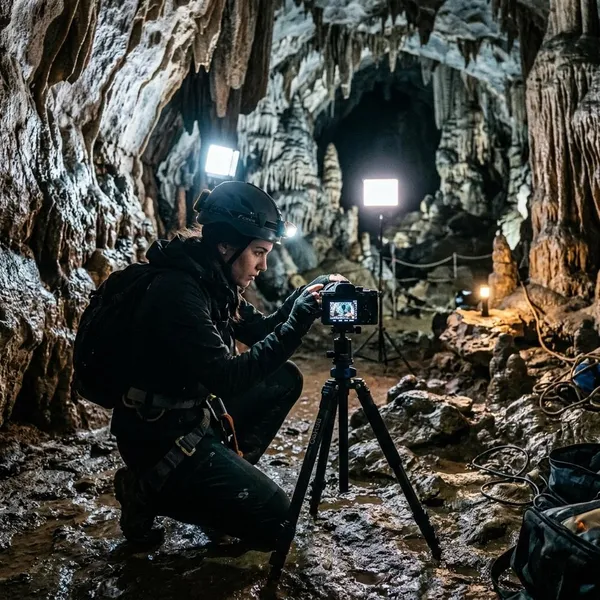
Cave photos usually improve fastest when you stop trying to brighten the whole cave and start controlling three things: stable exposure, angled light, and protected highlights. For practical cave photography tips lighting and exposure, begin with a tripod, manual settings, RAW files, and one carefully placed light before adding anything more complicated.
Best camera settings for cave photography
Auto mode struggles underground because the camera sees either too much black space or small areas of intense reflection. A better starting point is manual mode, RAW capture, and a tripod, then adjust one setting at a time instead of chasing the meter.
Aperture for low light
For many cave interiors, f/5.6 to f/8 is a practical starting range because it keeps enough depth while still allowing usable light. Use f/11 when a large chamber needs more front-to-back sharpness, especially on a tripod. In a tight passage or close detail shot, f/2.8 to f/4 can work better, but check focus carefully because the sharp zone becomes thinner.
Shutter speed and long exposures
Long exposures are often the cleanest option for still cave scenes. If the camera is on a tripod and nothing important is moving, several seconds can keep ISO low and let you build light slowly with an LED or light painting.
ISO and noise control
Keep ISO low when the scene allows it, often around ISO 100–400 for tripod-based shots. Raise it only when the exposure is becoming impractically long or when subject movement matters more than maximum file quality.
- Still chamber: low ISO, longer shutter, controlled lighting.
- Moving people: higher ISO or flash may be worth the extra noise.
- Very dark rock: avoid underexposing too much, because brightening shadows later can make noise more obvious.
Manual focus and RAW capture
Manual focus is usually safer underground than trusting autofocus. Shine a headlamp or small LED on the key subject, magnify live view if your camera allows it, focus carefully, then switch off or redirect the light before the exposure.
RAW files are worth using because cave scenes often contain deep shadow beside bright wet rock or helmets. RAW will not fix a badly clipped highlight, but it gives you more room to adjust white balance, shadows, and noise without making the image look brittle.
How to light a cave for photography
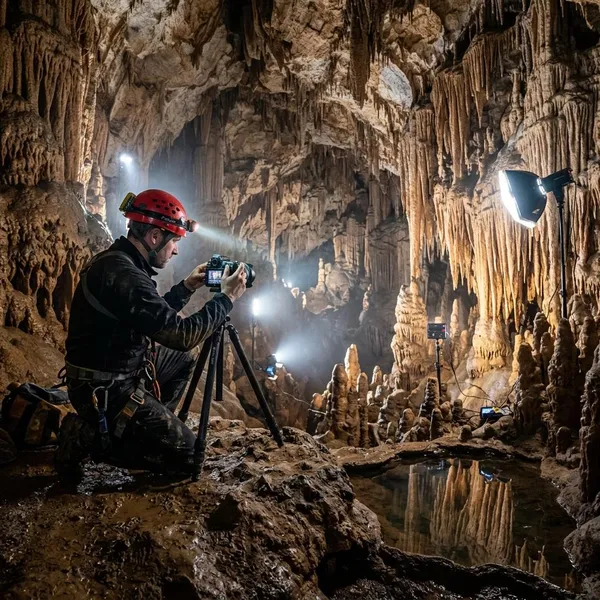
Lighting is the main creative decision in cave photography. Since there is little useful ambient light underground, the position, angle, spread, and strength of your lights decide whether the cave looks flat, dramatic, natural, or overdone.
Start with one light
One light tells you how the cave surface reacts. Place it away from the camera position, take a test shot, and look for texture, glare, and shadow shape before adding a second source.
Add side light for texture
Side light is one of the easiest ways to make rock feel three-dimensional. When the beam skims across limestone, flowstone, mud ripples, or mineral layers, small shadows reveal shape that front light would flatten.
Wet surfaces need a softer touch. If side light creates a bright glare patch, raise the light, move it farther away, feather the beam across the surface, or add diffusion. The goal is texture, not a shiny white scar in the middle of the frame.
Use multiple lights for depth
Use extra lights only when each one has a job. One might shape the foreground, another might separate a formation in the middle distance, and a weaker light may suggest the back of a chamber.
Try light painting
Light painting works well when one flash or LED cannot cover the space evenly. During a long exposure, move a handheld light across the scene in controlled passes, spending less time on pale or wet surfaces and more time on darker areas.
Keep the movement repeatable. Count seconds on each area or follow the same path for each attempt, then compare the frames. Random sweeping usually creates patchy light; deliberate passes make the result easier to refine.
Avoid harsh hotspots
Hotspots usually come from direct light hitting wet rock, pale formations, pools, or helmets. Fix the angle first: move the light to the side, aim it past the subject instead of straight at it, or reduce the beam intensity. Lowering power helps, but angle changes often solve the problem faster.
How to get the right exposure underground
A good cave exposure does not mean showing every dark corner. It means keeping the important subject readable, preserving highlight detail, and allowing some darkness to remain part of the scene.
Balance aperture shutter speed and ISO
Think in priorities rather than formulas. For a still cave interior, choose the aperture for depth, keep ISO low, and let shutter speed run longer. For a person walking, climbing, or turning toward the camera, protect shutter speed first and support it with flash, more LED power, a wider aperture, or a higher ISO.
Check the histogram
The rear screen can be misleading in a dark cave because your eyes adapt to the surroundings. A frame may look bright enough on the LCD but still be underexposed, or a small wet highlight may already be clipped.
A cave histogram will often lean left, and that is not automatically bad. What matters is whether important midtones are present and whether the right edge is jammed from blown highlights. Turn on highlight warnings if your camera has them, then zoom into the brightest rock, water, or helmet area.
Protect bright highlights
Preserve highlight detail before trying to open every shadow. Reflections on wet stone and pale mineral surfaces can clip quickly, and a fully blown patch is hard to repair even in RAW.
- If the rock still has texture: the exposure is usually workable.
- If it turns pure white: change light angle, reduce power, or shorten exposure.
- If the shadows feel too heavy: add selective light rather than brightening the entire frame.
Use exposure bracketing when needed
Bracketing is useful for static cave scenes with dark recesses and reflective formations. Shoot a normal frame, a darker frame for highlights, and a brighter frame for shadow options. You may not need to blend them later, but you will have a safer choice if one exposure looked fine on the screen and failed on a larger display.
Cave photography composition tips
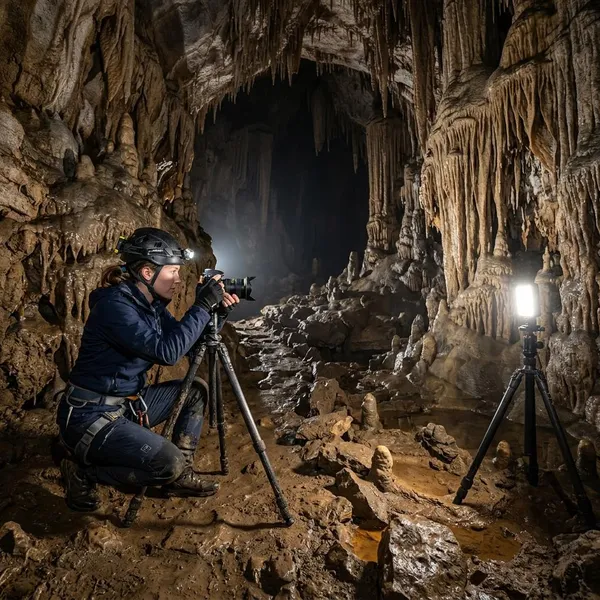
Composition keeps cave photos from becoming a jumble of rock texture and black space. Before adjusting more settings, decide what the viewer should notice first: a person, a formation, a passage, a pool, or the size of the chamber.
Use people to show scale
A person gives immediate scale, especially in chambers where size is hard to read from rock alone. Place them where their body explains the space: small at the base of a huge wall, crouched in a tight crawl, or standing near a passage entrance.
Ask for a pose they can hold. A relaxed stance with a headlamp angled away from the lens usually looks more believable than a dramatic pose that blurs during the exposure.
Highlight rock textures
Texture can be the subject by itself. Instead of always trying to fit the whole cave into the frame, look for a section of wall, flowstone, or mud pattern that responds well to side light.
A tighter composition often works better than a wide scene when the cave is visually messy. Exclude blank dark areas and bright edge reflections unless they add something useful to the frame.
Use passages as leading lines
Passages, floor channels, streams, and sloping walls can pull the eye through the image. Make sure they lead toward something worth seeing, such as a caver, a lit formation, or a darker opening that adds mystery.
Keep some natural darkness
Do not treat darkness as a mistake by default. A side tunnel fading to black or a shadowed chamber wall can make the photo feel more like an actual cave instead of a fully lit display room.
This is also a practical way to hide clutter. If a section of rock is messy, wet, or distracting, leave it dim and spend your light on the subject that matters.
Frame large chambers carefully
Large chambers often look smaller in photos than they feel in person. Add a foreground rock, pool edge, or person to create a near-to-far structure, then light the background just enough to show depth.
Be careful with very wide lenses near the frame edges. Formations can stretch awkwardly, so a small shift in camera position may produce a more natural image than simply zooming wider.
Essential cave photography gear
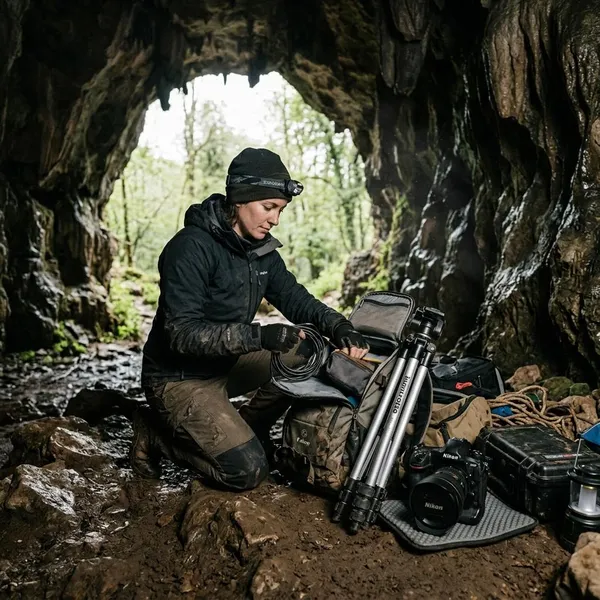
Cave gear should solve real underground problems: darkness, moisture, unstable ground, awkward movement, and long setup times. The most useful kit is reliable and manageable, not necessarily the most expensive.
If you are only photographing an easy tourist cave from a safe path, you may need less gear and fewer lights. For wild caves, wet passages, or longer sessions, spare power, lens care, and stable support become much more important.
Tripod
A tripod lets you use long exposures without pushing ISO too high. It also keeps the camera fixed while you bracket exposures, adjust lights, or repeat a light-painting pass.
Choose one you can actually carry through the cave. A heavy studio-style tripod may be stable, but it becomes a burden in tight or muddy conditions. A compact, rigid tripod with dependable leg locks is often the better practical choice.
Wide-angle lens
A wide-angle lens helps in tight passages and large chambers where stepping back is impossible. Around 14mm to 24mm on full frame, or a similar crop-sensor equivalent, is a useful range for many cave scenes.
Use the width with intention. A wide lens can create strong foreground depth, but it can also exaggerate empty floor or distort formations near the edges.
Flash or LED lights
Flash is useful when you need power, efficiency, or a sharper person in the frame. LED lights are easier to preview and work especially well for focusing, careful placement, and light painting.
| Situation | Better starting choice | Why it helps |
|---|---|---|
| Caver needs to stay sharp | Flash | Freezes movement more effectively |
| Building light across a chamber | LED or light painting | Lets you see and shape the beam |
| Mixed portrait and background scene | Both | Flash for the person, LED for depth |
Headlamp
A headlamp is not just convenience; it is part of your workflow and safety setup. It keeps your hands free while moving, changing settings, wiping the lens, or setting focus. For the actual exposure, remember to turn it away from the lens unless you want the beam visible in the shot.
Spare batteries and lens cloths
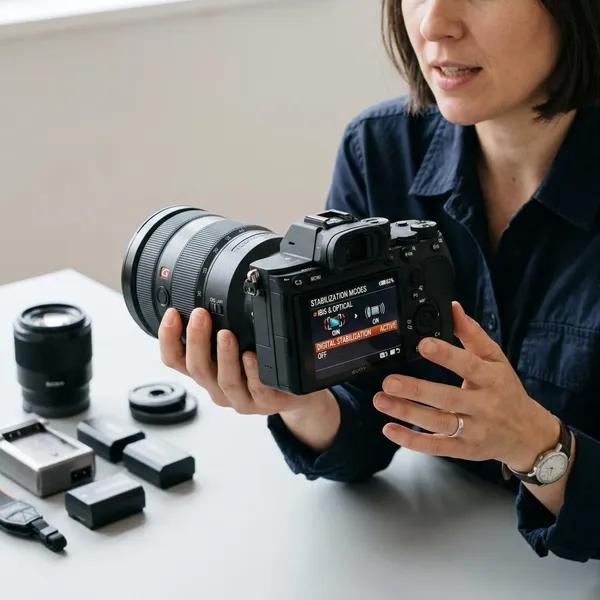
Bring more batteries than you expect to use. Long exposures, live view, image review, cold air, and external lights can drain power quickly underground.
Carry several clean lens cloths in a dry pocket or sealed bag. One wet cloth is not enough in a damp cave; condensation, mud spots, and water droplets can quietly ruin contrast before you notice them.
Conclusion
The strongest cave photos usually come from a calm, selective approach: stabilize the camera, light one subject well, protect reflective highlights, and let some darkness remain. Add complexity only when the scene genuinely needs it, because one clean exposure with purposeful light will almost always beat a fully lit cave that has no clear subject.