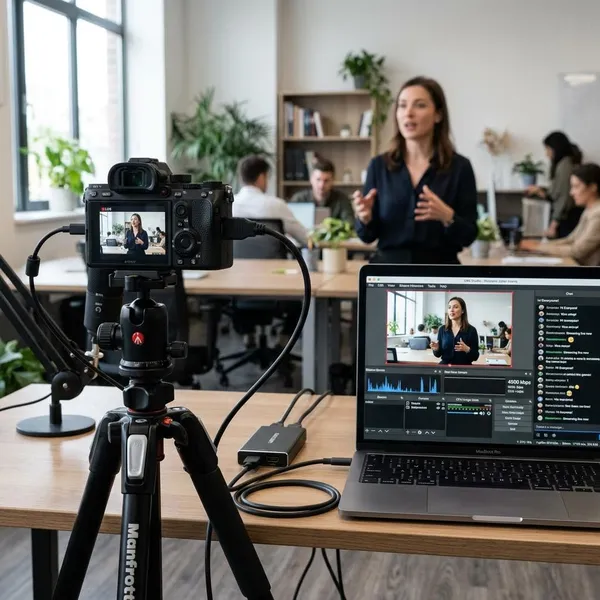
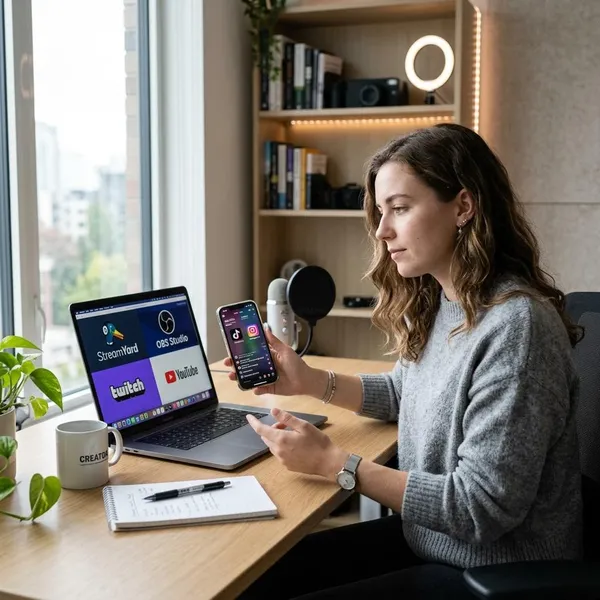
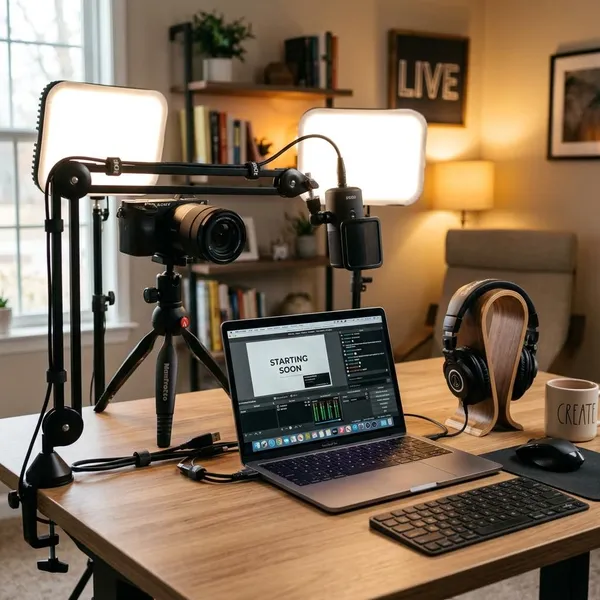
A facebook livestream multiple cameras setup can be as simple as two webcams in OBS or as controlled as several HDMI cameras running through a hardware switcher. Start by deciding whether you need a low-cost setup for occasional streams or a more reliable workflow for events where you cannot afford awkward cuts, dead batteries, or audio problems.
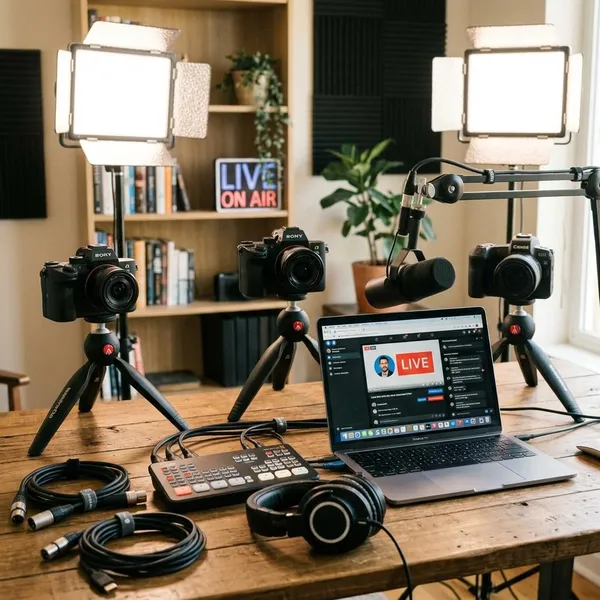
What you need for a multicam Facebook Live setup
The setup has five jobs: capture the cameras, get clean audio, switch or arrange the video, encode the stream, and keep the internet connection stable. If one of those parts is weak, adding more cameras usually makes the stream harder to manage rather than better.
Two or more camera sources
You need at least two video sources: for example, one wide camera for context and one tighter camera for faces, hands, products, or a speaker. USB webcams are the easiest starting point, while mirrorless cameras, camcorders, phones, and action cameras can work if they provide a usable video feed for your setup.
For longer streams, pay attention to the boring details: continuous power, overheating behavior, autofocus stability, and whether the camera can output a clean image without menu icons. A camera that looks great for five minutes but shuts down after half an hour is a poor choice for a serious livestream.
Capture cards or a video switcher
USB webcams usually connect straight to the computer. HDMI cameras normally need capture cards if you want OBS to see each camera separately.
| Setup choice | Best for | Main trade-off |
|---|---|---|
| Separate capture cards | OBS users who want each camera as its own source | More USB ports, cables, and computer load |
| Hardware switcher | Events where fast live camera changes matter | Higher cost and one combined output unless configured otherwise |
| Two USB webcams | Beginner streams, lessons, simple demos | Image quality and USB bandwidth can be limiting |
Computer or hardware encoder
OBS uses your computer to combine cameras, scenes, audio, and the final stream. That is flexible, but it also means the computer has to work harder as you add more sources, overlays, recordings, and browser windows.
A hardware encoder or streaming switcher can be a better fit when the same setup is used every week by volunteers or non-technical users. It removes some software complexity, although you still need to test settings, audio, and internet before the event.
Microphone and audio gear
Use one main audio source whenever possible. A USB mic can work for a desk stream, while interviews, services, and stage events usually benefit from lavalier mics, handheld mics, or a small mixer.
Stable internet connection
A wired Ethernet connection is usually the safest choice for Facebook Live. Wi-Fi can work for low-risk streams, but it is easier to disrupt with distance, walls, interference, or other people using the same network.
Before an important broadcast, run a speed test, close unnecessary uploads, and check that your upload speed has room above the bitrate you plan to use. If the connection is barely enough during testing, it may not hold up once the stream is live.
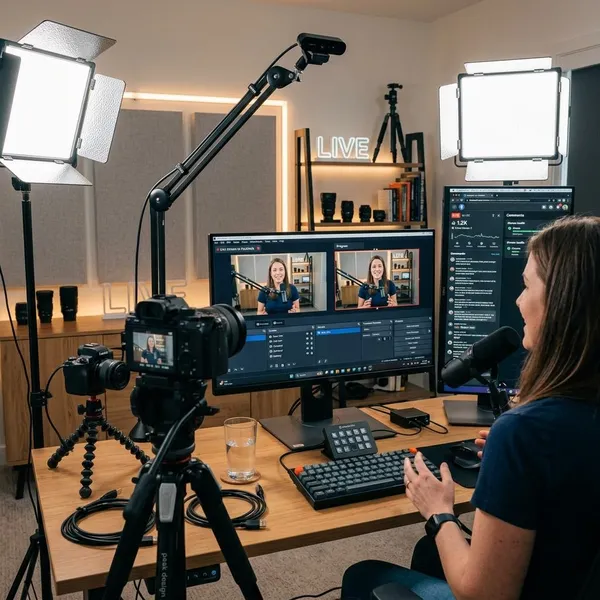
How to use multiple cameras in OBS for Facebook Live
OBS is the most practical route for many creators because it lets you add cameras as sources, build scenes, control layouts, mix audio, and send the final stream to Facebook. It is especially useful when you want flexibility without buying a dedicated switcher right away.
Connect each camera to your computer
Plug in each webcam or capture card before opening OBS. If several video devices are connected through one cheap USB hub, move some of them to separate ports if you see black screens, freezing, or cameras disappearing.
For HDMI cameras, check the camera screen and the computer feed at the same time. You want clean output, steady power, and no visible menus, focus boxes, or battery warnings in the video.
Add each camera as a video source
In OBS, add each camera as a Video Capture Device source and give it a name you will recognize under pressure, such as Wide Shot, Close-Up, Overhead, or Guest Camera.
- Match resolution where practical: mixed settings can make switching look uneven.
- Check frame rate: avoid one camera looking noticeably choppier than the others.
- Fix framing early: crop and resize before building multiple scenes from the same source.
- Rename sources clearly: "USB Video Device 2" is easy to confuse during a live stream.
Create scenes for different camera angles
Build scenes around real moments in the stream, not around every camera just because it exists. A two-person interview may only need a host shot, guest shot, wide shot, and side-by-side scene. A cooking stream might need a face camera, overhead work surface, and picture-in-picture layout.
Set up and sync your audio
Choose the microphone you want viewers to hear and mute the rest. Watch the OBS audio mixer while speaking at normal volume, then record a short local sample and play it back.
If lips and speech do not line up, use OBS sync offset rather than trying to ignore it. A simple clap on camera makes the delay easier to spot because the hand movement and sound should happen together.
Connect OBS to Facebook Live
Open Facebook Live Producer, choose the option for streaming software, and copy the stream details into OBS. If Facebook gives you a server URL and a facebook live stream key, paste them carefully into the OBS Stream settings.
Check the destination before starting: page, profile, group, privacy setting, title, and scheduled event. Sending a test stream to the wrong place is easy to do when you manage several pages or groups.
Test your scenes and start streaming
Do one full rehearsal before a public stream, even if it is only five minutes. Click through every scene, speak into the mic, move in front of each camera, and watch for dropped frames or warnings in OBS.
- Power on every camera and confirm focus, framing, and battery or AC power.
- Open every OBS scene and look for black sources, wrong crops, or outdated labels.
- Record a short sample to catch audio sync, echo, and camera color problems.
- Use Facebook preview to confirm the stream reaches the correct destination.
- Go live only after the preview looks and sounds right, not just because OBS shows a signal.
How to use a hardware switcher for Facebook Live
A hardware switcher makes sense when live control matters more than software flexibility. Instead of clicking around in OBS, you plug the cameras into a dedicated device and switch angles with buttons, a control surface, or the switcher's own software.
Connect your cameras to the switcher
Connect each camera to the switcher using the supported input type, usually HDMI or SDI. Label the cables and inputs so Camera 1, Camera 2, and Camera 3 actually mean something when the event starts.
Match resolution and frame rate before the stream if your switcher expects consistent signals. If one camera does not appear, test the cable, output setting, and input format before assuming the switcher is faulty.
Connect and check your audio
Feed audio from one reliable source into the switcher, such as a mixer, microphone receiver, or the main soundboard output. Do not let the active camera accidentally decide which microphone viewers hear unless you intentionally set it up that way.
- Use headphones: meters show level, but headphones reveal hum, buzz, and echo.
- Watch for clipping: distorted audio is hard to fix once it is live.
- Confirm routing: switching video should not mute the speaker by accident.
Configure the Facebook Live output
If the switcher can stream directly, enter the Facebook destination details in its streaming menu. Some models have a Facebook preset; others require the server URL and stream key from Live Producer.
If the switcher sends video to a computer over USB, treat it like one combined camera source in OBS or another streaming app. That can be simpler, but remember that individual camera switching now happens on the hardware, not inside OBS.
Preview your camera angles
Use preview or multiview whenever your switcher supports it. It lets you check the next shot before viewers see it, which is useful when a speaker moves, a musician starts, or a product presenter is repositioning something on a table.
Switch cameras during the livestream
Switch when the content gives you a reason: a new person starts speaking, a detail needs a close-up, or the wide shot has stayed on screen too long. Clean cuts are usually enough; flashy transitions can distract from the stream.
How to show multiple cameras on one screen
Showing more than one camera at once works best when it solves a viewing problem. If viewers need to see a person and a detail at the same time, use a layout. If one shot is enough, full-screen switching is usually cleaner, especially for people watching on phones.
In OBS, you create these looks by resizing sources inside scenes. Some hardware switchers also offer picture-in-picture, split-screen, or preset layout tools.
Side-by-side camera layout
Side-by-side is a good fit for interviews, podcasts, co-hosted streams, and two-person discussions because both people stay visible with equal weight. Keep head sizes and brightness reasonably similar so one side does not feel like an afterthought.
Picture-in-picture layout
Picture-in-picture works when one view should stay dominant. A teacher may keep slides full-screen with a small face camera, while a product seller may show the tabletop as the main view and place the host in the corner.
Put the smaller box where it does not cover prices, captions, hands, faces, or important details. On mobile screens, a picture-in-picture window that looks fine on your monitor may be too small, so test it in Facebook preview if possible.
Split-screen layout
Split-screen can help for music, crafts, repairs, demonstrations, or worship production where two or three angles matter at once. Give each panel a clear job: main view, close detail, presenter, or wide context.
Avoid filling the screen with tiny boxes just to show every camera. If viewers cannot tell what they are looking at, switch full-screen instead.
Full-screen camera switching
Full-screen switching is still the best default for many Facebook Live streams. It keeps faces, text, products, and stage action large enough to follow, especially on phones.
Conclusion
The best multicam Facebook Live setup is the one you can run reliably while the stream is happening. Use OBS if you want a flexible, affordable start; choose a hardware switcher when live control and repeatable event reliability matter more. Begin with two useful angles, one clean audio source, wired internet when possible, and a private test before you invite viewers in.