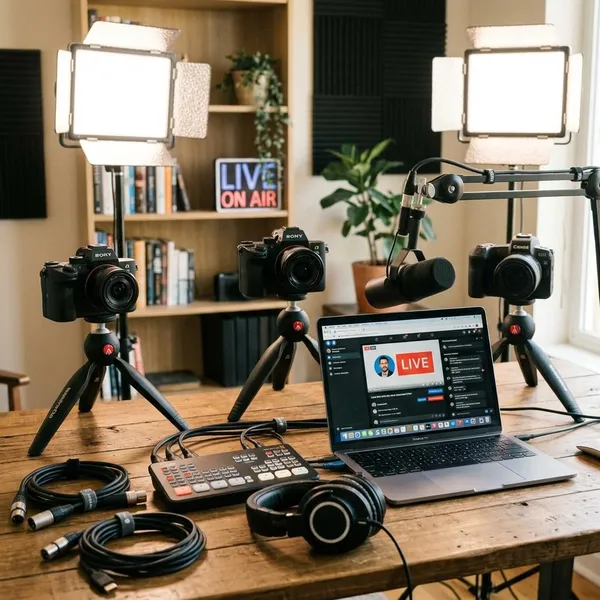
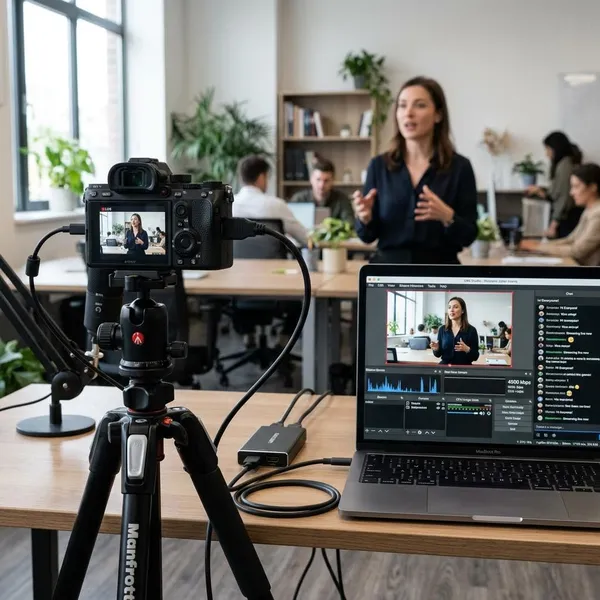
A beginner livestream setup should make you easy to see, easy to hear, and unlikely to drop offline. Start with clear audio, steady internet, simple lighting, and a camera that is good enough for your format; expensive gear only helps after those basics are reliable.
What do you need for a livestream setup?
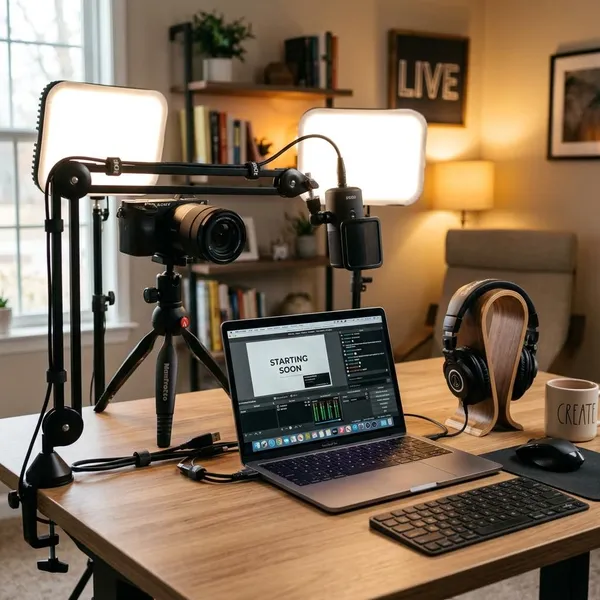
The essentials are a camera or video source, microphone, lighting, a computer or encoder, stable internet, and streaming software. If you are buying your first setup, put your money in this order: microphone, lighting, internet reliability, then camera upgrades.
Camera or video source
A webcam is the easiest starting point because it connects by USB and works with most streaming tools. A phone can also work well for a temporary setup if you already have a good camera app and a stable mount.
Move to a mirrorless camera when you want a cleaner image, better low-light performance, or a more polished talking-head look. Before buying one, check whether it supports clean HDMI or direct USB video; otherwise, you may also need a capture card.
Microphone
Audio is the first place to avoid cutting corners. Viewers may accept average video, but muffled speech, echo, or clipping makes a stream tiring almost immediately.
- Solo beginner: a USB dynamic microphone is usually the simplest and safest choice.
- Interview or podcast: each speaker should use headphones and, ideally, their own mic.
- Noisy room: keep the mic close and choose a dynamic model before adding complicated filters.
Placement matters more than the price tag. A modest mic 4 to 8 inches from your mouth will usually beat a better mic sitting across the desk.
Lighting
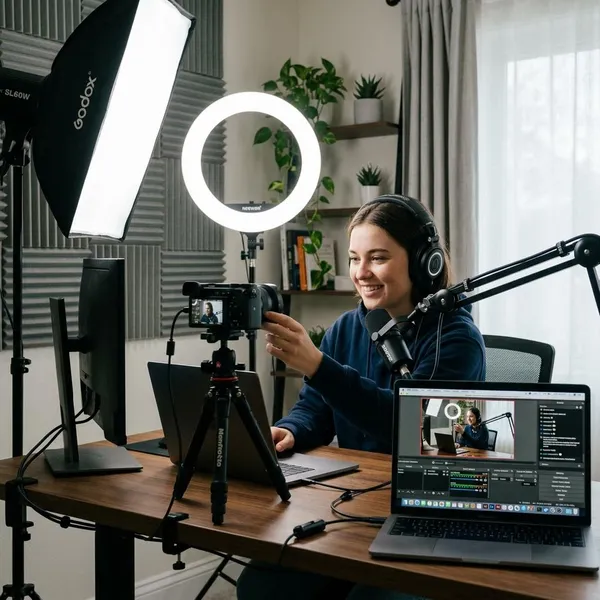
Good lighting can make a basic webcam look much better. Put one soft light in front of you, slightly above eye level, and avoid sitting with a bright window behind you.
For a casual stream, a ring light or small LED panel is enough. For weekly classes, client calls, or recorded streams that stay online, dedicated lighting is worth it because your image stays consistent every time.
Computer or hardware encoder
Most beginners should use a computer first. A reasonably modern laptop or desktop can handle a simple camera, microphone, screen share, and 1080p stream if you keep scenes and browser sources under control.
A hardware encoder makes more sense for live events, long presentations, or situations where you do not want the main computer doing everything at once. It adds cost and setup time, so it is not usually the first purchase for a home streamer.
Stable internet connection
Your upload connection matters more than your download speed. For 1080p, around 5 Mbps upload is often treated as a minimum, while 8 to 10 Mbps or more gives safer room for dips.
Streaming software
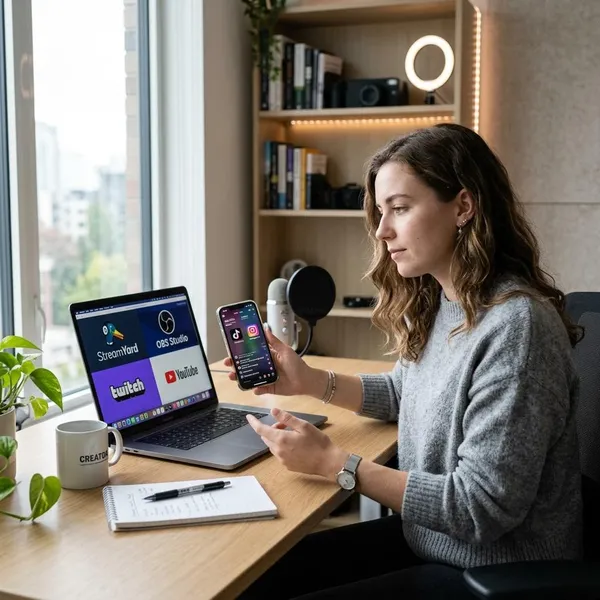
Streaming software brings your camera, microphone, screen share, overlays, and platform connection together. OBS Studio is flexible and free, while StreamYard is easier for interviews, guests, and browser-based streaming.
How to set up a livestream
Set up your livestream in the same order every time: platform, devices, lighting, software, output settings, then a private test. That routine catches most beginner mistakes before anyone is watching.
Choose your streaming platform
Pick the platform based on where your audience already spends time. YouTube Live is strong for tutorials, webinars, and searchable replays. Twitch fits gaming and live community interaction. Facebook Live can work well for groups, local updates, and community pages.
Check account requirements before the day of your stream. Some features may need verification, setup time, or platform-specific bitrate limits.
Connect your camera and microphone
Connect the camera and microphone, then confirm the exact devices inside your streaming software. A common beginner mistake is going live with the laptop mic instead of the external mic.
- Watch the audio meter: your voice should move clearly without staying in the red.
- Check the camera feed: confirm framing, focus, and the correct input.
- Reconnect consistently: using the same USB ports can reduce source confusion.
Set up your lighting
Place the main light in front of you rather than above or behind you. If your face looks shiny, harsh, or washed out, soften the light or move it slightly to the side.
Glasses need a quick extra check. Raise the light, angle it down, or shift it off-center until reflections stop covering your eyes.
Configure your streaming software
Add only the sources you need for the stream you are actually running. A first stream might only need camera, microphone, and screen share; alerts, animated overlays, and multiple scenes can wait.
If you do use scenes, name them clearly: Camera, Screen Share, Interview, Starting Soon. Clear labels help when you are nervous or switching quickly.
Set your resolution and bitrate
For most beginner streams, 1080p at 30 fps is a sensible target. If your computer or internet struggles, 720p is better than a sharp-looking setup that buffers or drops frames.
Use the platform's recommended bitrate as your boundary, then leave upload headroom. If your stream is set around 6 Mbps, your connection should not be barely reaching 6 Mbps in a speed test.
Test everything before going live
A private or unlisted test stream is the best final check because it shows the full path from your setup to the platform. Watch it on another device and listen like a viewer, not like the person running the software.
- Check sound first: confirm the right mic, steady levels, and no echo.
- Check the picture: framing, lighting, focus, and readable text.
- Check stability: look for buffering, dropped frames, or sync issues.
- Check distractions: close noisy apps, notifications, and background uploads.
Best livestream setup by use case
The right setup changes with the job. A casual talking-head stream can stay simple, while gaming, interviews, classes, and events each add different weak points to watch.
Gaming streams
A gaming setup usually needs a gaming PC or console, microphone, headphones, webcam, and software such as OBS. Console streamers often need a capture card if they want overlays, a facecam, or more control from a computer.
The main risk is overloading the same machine that runs the game. If gameplay stutters or the stream drops frames, lower stream settings before buying more gear.
Talking-head streams
This is the easiest format to keep lean: webcam, USB mic, one front light, and a quiet room. It works well for Q&A sessions, coaching, simple product demos, and creator updates.
Podcasts and interviews
For podcasts and interviews, audio consistency matters more than having every guest look perfect. Ask guests to wear headphones, sit near a light source, and use the quietest room they can find.
If guests join remotely, a browser-based tool can reduce setup friction. For in-person podcasts, separate mics for each speaker are usually worth the extra effort.
Online classes and webinars
Classes and webinars need clear speech, readable slides, and smooth switching between your face and the material. A simple webcam, good mic, front light, and screen-share scene can be enough.
Check your slides on a phone before the session. Small text that looks fine on your monitor may be unreadable for students watching on a smaller screen.
Live events and presentations
Live events are less forgiving than home streams because power, sound, lighting, and internet may all be outside your control. Visit the venue early if possible and test the actual connection you plan to use.
For presentations, prioritize the speaker's audio source. Taking sound from the venue system or placing a mic close to the presenter is often more valuable than adding a second camera angle.
How to improve livestream quality
Improve the weakest part first. If people cannot hear you, fix audio; if the image looks dull, fix lighting; if the stream buffers, fix the connection before changing cameras or adding effects.
Prioritize clear audio
Put the microphone close, reduce background noise, and record a short sample before important streams. If your room echoes, add soft materials such as curtains, rugs, or upholstered furniture before spending money on advanced audio gear.
Improve lighting before upgrading the camera
Better light gives your camera more to work with. One soft, steady front light can reduce grain, improve skin tones, and make a webcam look sharper than it really is.
Use Ethernet when possible
Ethernet is the simplest reliability upgrade for most home streams. Wi-Fi can be fine for casual use, but it is more vulnerable to distance, walls, interference, and other devices on the network.
Keep your background simple
A simple background helps viewers focus on you. Remove clutter, bright windows, moving objects, and anything with text that pulls attention away from the stream.
Run a private test stream
Run a private test before any stream that matters. It catches the mistakes that are easy to miss inside your own software: muted audio, wrong camera, unreadable slides, unstable bitrate, or a delay between sound and video.
- Casual stream: a five-minute test is usually enough.
- Class or webinar: test slides, screen share, and chat workflow.
- Event stream: test at the venue with the real audio and internet path.
Conclusion
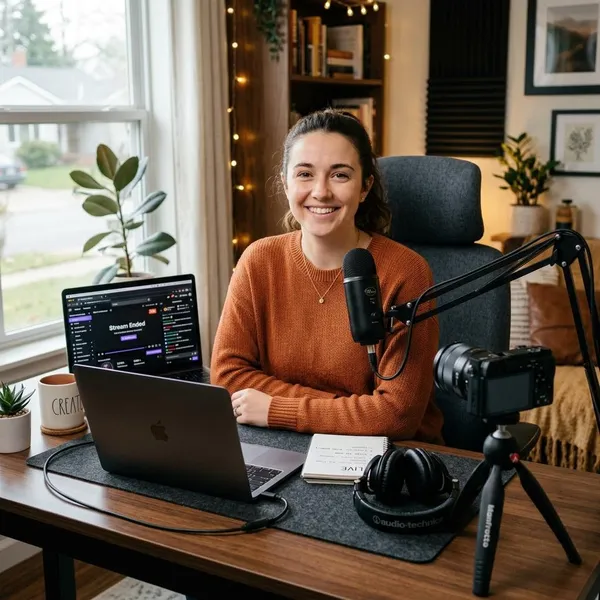
A good setup is not the one with the most gear; it is the one you can run reliably without fighting your own equipment. Start with audio, light, and connection stability, then upgrade only when your format proves you need more control.