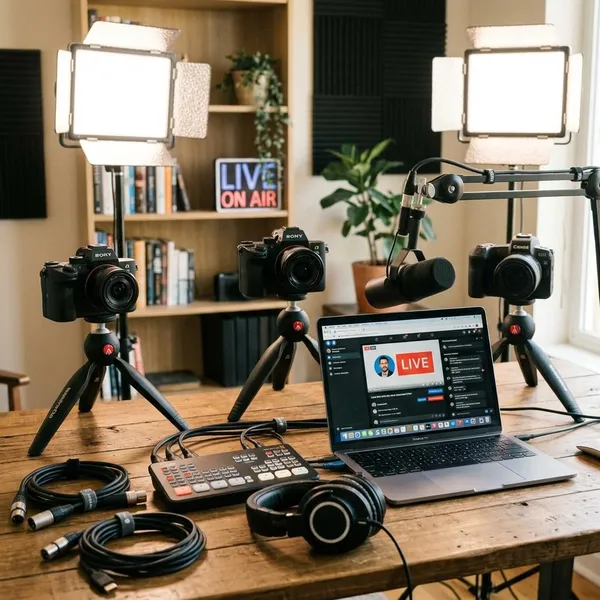
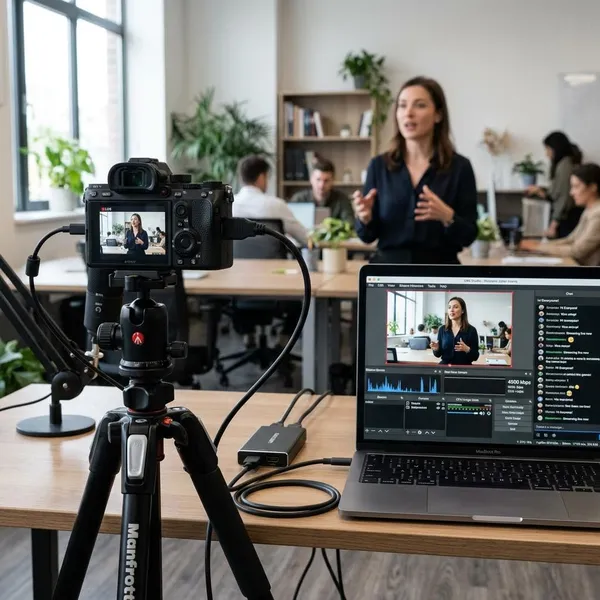
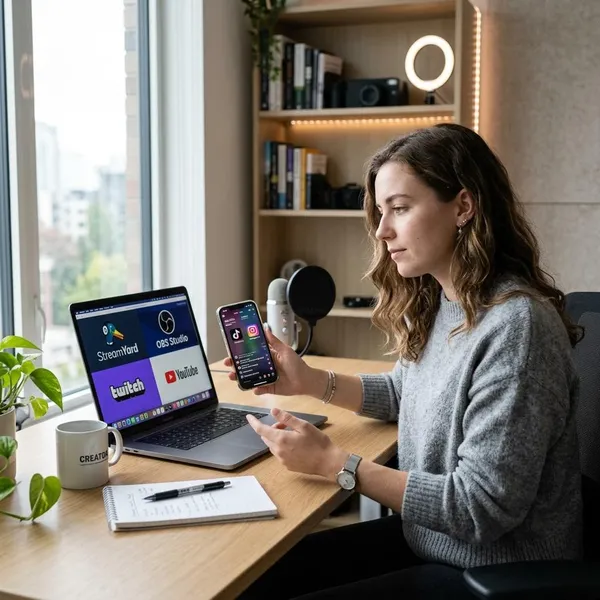
You can livestream on YouTube once your channel is verified, live streaming is enabled, and you pick the right setup for the type of stream you want to run. For a simple talking-head stream, use the webcam option; for a phone stream, check mobile eligibility first; for screen sharing, gaming layouts, or overlays, use OBS or another encoder.
Enable YouTube live streaming
The first thing to check is not your camera or OBS settings. It is whether YouTube has actually allowed your channel to go live. New creators often get stuck because the Go live option is hidden, delayed, or limited by channel eligibility.
Verify your channel
Start with channel verification in YouTube Studio. Go to Settings, then Channel, then Feature Eligibility, and follow the phone verification steps if YouTube asks for them. This unlocks features YouTube needs before live streaming can work properly.
Check channel eligibility
Eligibility is separate from verification. Your channel should not have recent live streaming restrictions, and YouTube may apply age or feature limits depending on the account.
- Desktop streaming: often available once the channel is verified and eligible.
- Mobile streaming: may require extra eligibility, commonly including a subscriber threshold.
- Restricted accounts: check YouTube Studio before troubleshooting your equipment.
Enable live streaming
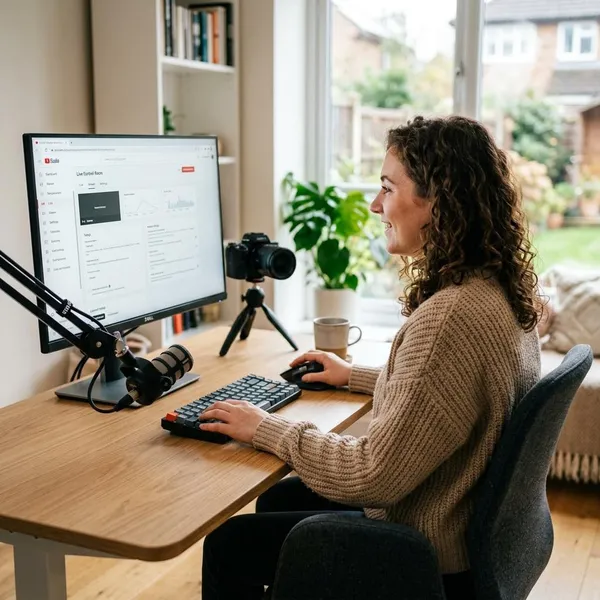
After verification, click Create in YouTube Studio and choose Go live. If your channel is ready, YouTube opens Live Control Room, where you can create a webcam stream, schedule a stream, or connect an encoder such as OBS.
If YouTube shows a setup or activation message instead, follow that prompt first. Do not build a full OBS scene yet if the channel itself has not been approved for live streaming.
Allow time for first-time activation
Do this at least a day before anything important. First-time YouTube Live activation can take up to 24 hours, so waiting until ten minutes before a class, launch, interview, or event is the easiest way to create avoidable stress.
Choose how to livestream on YouTube
Your streaming method should match the job, not just the most advanced tool available. A browser webcam stream is enough for a simple Q&A. A phone is better when you are away from your desk. OBS makes sense when the stream needs screen sharing, overlays, gameplay, or multiple scenes.
| Best choice | Use it when | Think twice if |
|---|---|---|
| Webcam | You want the fastest desktop setup | You need overlays, scene switching, or screen capture |
| Mobile | You are streaming from an event, shop, trip, or live location | Your battery, signal, or audio conditions are unreliable |
| OBS or encoder | You need a polished layout, screen sharing, gameplay, or better audio control | You have not tested your computer and internet connection |
| Console | You mainly want to broadcast gameplay with minimal setup | You want custom graphics, scenes, or advanced audio routing |
How to livestream with a webcam
The webcam method is the cleanest way to do a first desktop livestream. It is also a good option for people who want a reliable setup for occasional streams without learning OBS first.
Open YouTube Live Control Room
Sign in to YouTube, click Create, choose Go live, and select the webcam option if YouTube asks you to choose a method. Live Control Room is where you manage the stream title, visibility, audience setting, chat, and preview.
Add your stream details
Give the stream a title that tells viewers what they are joining. Then choose the visibility carefully:
- Private: useful for checking the setup alone.
- Unlisted: best for a test link you can share with one or two people.
- Public: use when you are ready for viewers and possible notifications.
If the replay will stay on your channel, add a thumbnail and a short description so the archived video still makes sense later.
Select your camera and microphone
Choose the exact camera and microphone you want YouTube to use. This matters if your laptop mic, USB mic, built-in webcam, and external webcam are all connected at the same time.
Preview and go live
Use the preview as your last mistake filter. Check whether your face is framed well, the room is bright enough, the background is not distracting, and the selected microphone is actually picking up your voice.
- Set the stream to Unlisted if you are testing.
- Record or stream for a minute.
- Play it back and listen with headphones.
- Fix sound first, then lighting, then framing.
When the preview looks and sounds right, click Go live. Watch the first minute closely so you can catch "no audio" or connection warnings before the stream gets moving.
How to livestream from your phone
Phone streaming is convenient, but it is less forgiving than it looks. It works best when the moment matters more than a polished layout and when you have already checked signal, battery, sound, and orientation.
Check mobile eligibility
Make sure your channel can use mobile live streaming in the YouTube app. YouTube may allow desktop live streaming while still limiting mobile live streaming, so a missing phone option does not always mean your whole channel is blocked.
If the mobile live button is not available, check Feature Eligibility and account notices in YouTube Studio before reinstalling the app or changing camera settings.
Open Live in the YouTube app
Open the YouTube app, confirm you are signed in to the correct channel, tap Create, and choose Go Live. Allow camera and microphone permissions when prompted.
Add your stream details
Add a clear title, choose the correct audience setting, and decide whether the stream should be Public, Unlisted, or Private. For a real event, write the title before you arrive so you are not typing under pressure with people waiting.
Set your camera orientation
Choose vertical or horizontal before you start. Vertical can feel natural for casual mobile-first updates, while horizontal is usually better for product demos, group scenes, presentations, and videos you may want to keep on your main channel afterward.
Preview and start streaming
Before tapping Go Live, do a real-world check instead of only looking at your face on screen:
- Signal: test from the exact spot where you will stream.
- Battery: use a power bank for anything longer than a short update.
- Stability: use a tripod or lean the phone safely.
- Sound: avoid wind, traffic, and loud speakers near the mic.
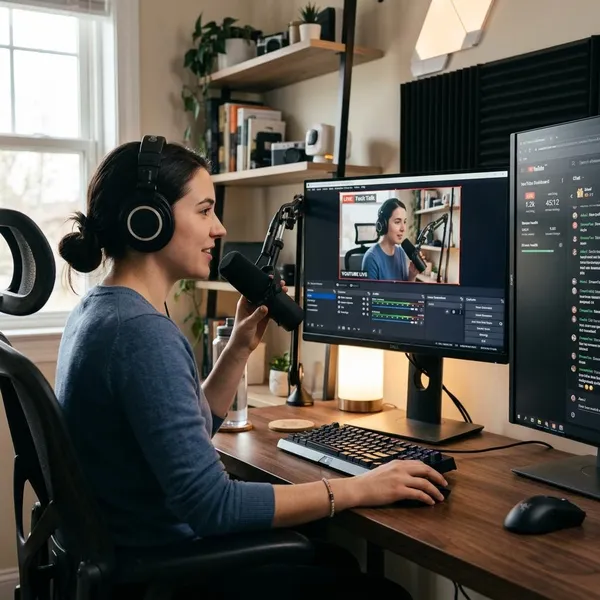
How to livestream with OBS
OBS is the better choice when your stream needs production control: screen sharing, scenes, overlays, gameplay capture, browser sources, or separate audio inputs. The important part is to test the connection between OBS and YouTube before the public stream, not during it.
Create a stream in Live Control Room
In YouTube Studio, click Create, choose Go live, and create a new stream or open a scheduled one. Live Control Room shows the details your encoder needs, including the stream key when manual connection is required.
Connect OBS to YouTube
Open OBS, go to Settings, then Stream. Choose YouTube if it is available, or paste the server and stream key from YouTube into the custom settings.
Treat the stream key like a password. Do not show it on screen, send it in chat, or leave it visible in a screenshot, because it can allow someone else to send video to your stream.
Add video and audio sources
Build only the scene you need for the stream you are actually running. A simple webinar might need a microphone, webcam, and slide window. A gaming stream may need game capture, a face cam, desktop audio, and a starting-soon scene.
- Display Capture: shows your screen, but may reveal private tabs or notifications.
- Window Capture: safer when you only want one app visible.
- Video Capture Device: adds your webcam or capture card.
- Audio Input Capture: adds your microphone.
Check the stream preview
Click Start Streaming in OBS, then return to YouTube Live Control Room and wait for the incoming preview. Do not press Go live in YouTube until you have checked the picture, audio level, sync, and stream health.
If the screen is black, the wrong microphone is active, or your computer is dropping frames, fix that while the stream is still private or unlisted. This is especially important for a new OBS setup, a different internet connection, or a stream with guests.
Start your broadcast
When the YouTube preview is correct, click Go live in Live Control Room. OBS sends the video feed, but YouTube controls when the stream becomes visible to viewers.
During the broadcast, keep an eye on both places: OBS for dropped frames and audio meters, YouTube for stream health and viewer comments. When you finish, end the stream in YouTube and stop streaming in OBS so the broadcast closes cleanly.
Conclusion
The safest way to start is to verify the channel, activate live streaming early, and run one unlisted test before you invite viewers. Use a webcam if you want the fewest moving parts, use your phone when the location matters, and use OBS only when the stream genuinely needs more control. A simple setup that works is better than an advanced setup you have not tested.