If you only want to watch a Twitch livestream, you can open a channel and start viewing in seconds. If you want to stream yourself, the first things to get right are a Twitch account, stable upload, clear audio, and a simple broadcasting setup before worrying about overlays or expensive gear.
How to watch a Twitch livestream
Twitch is easiest to use when you treat it like a live directory. You can search for a creator you already know, browse by game or topic, or open a recommended channel and see if the stream feels worth staying in.
Find live channels
Use the search bar if you know the streamer, game, team, or event you want. Live channels usually show a live indicator, so you can jump straight into the broadcast instead of opening old clips or offline profiles by mistake.
If you are just browsing, the homepage is better. It surfaces current live streams, recommended creators, and larger events, which is useful when you want something to watch but do not have a specific channel in mind.
Browse categories
Categories group streams by game, topic, or format, such as Just Chatting, music, art, sports, or a specific game. This is often the fastest route for new viewers because you can start with the type of content you already like.
- Use viewer count carefully: big streams feel busy, while smaller streams are easier to chat in.
- Read the title: it often tells you whether the stream is casual, competitive, educational, or community-focused.
- Check tags: tags can help you avoid content that does not match your language, mood, or interest.
Join a stream
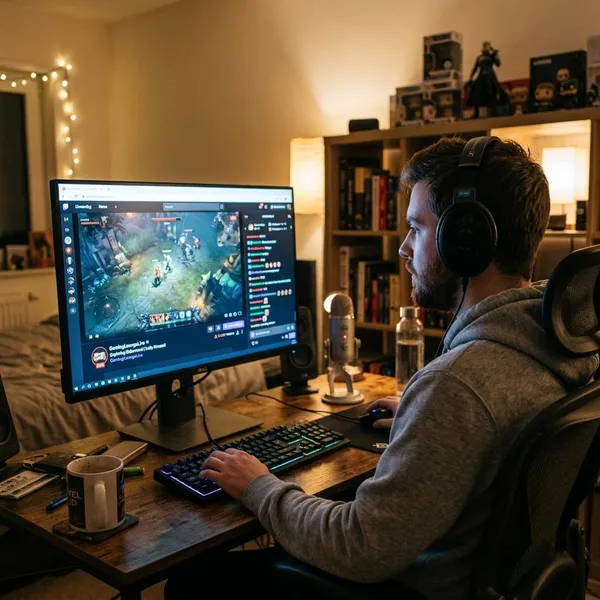
Click the stream thumbnail or title to open the video player. On desktop, chat usually sits beside the stream; on mobile, it may appear below the video or behind a chat tab.
Follow and use chat
Following a channel is free and helps you find that creator again when they go live. It is different from subscribing, which is usually a paid way to support a streamer.
Chat is where Twitch feels most different from normal video platforms. In a small channel, your question may get a direct response; in a large channel, chat can move so fast that it feels more like watching a crowd react together.
What you need to stream on Twitch
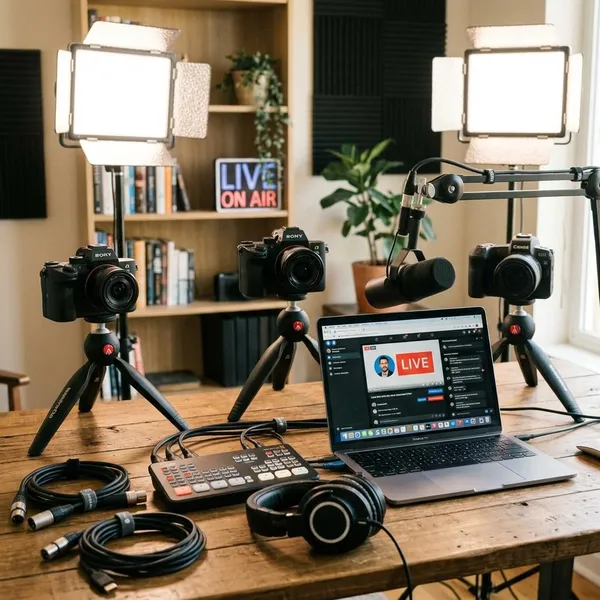
You do not need a studio setup to start streaming, but you do need the basics to work reliably. Clear audio and stable internet matter more on day one than fancy graphics, animated alerts, or a high-end camera.
For an occasional console stream, built-in streaming tools may be enough. For regular streaming, tutorials, PC gaming, or anything with multiple scenes, a computer with broadcast software gives you much better control.
A Twitch account
You need a Twitch account to stream. After creating it, add a profile image, short bio, and basic channel information so first-time visitors can quickly understand what you plan to broadcast.
Turn on two-factor authentication before your first real stream. It protects the channel and may be required for some creator features, so it is easier to handle this during setup than five minutes before going live.
A computer or streaming device
A computer is the most flexible option because it can run OBS, capture games or windows, manage audio sources, and switch between scenes. Choose this route if you want to stream regularly or control how the broadcast looks.
Console or mobile streaming is simpler and works well for low-effort gameplay sessions. The tradeoff is less control over overlays, audio mixing, screen layout, and troubleshooting.
Broadcast software
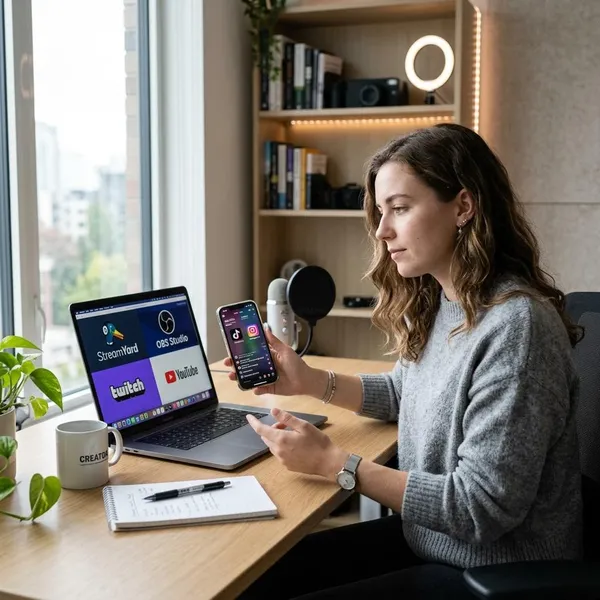
Broadcast software sends your video and audio to Twitch. OBS is a common beginner choice because it is free, widely supported, and powerful enough to grow with you.
Microphone and webcam
Prioritize the microphone before the webcam. Viewers can tolerate a basic image, but muffled, quiet, or harsh audio makes a stream hard to stay with.
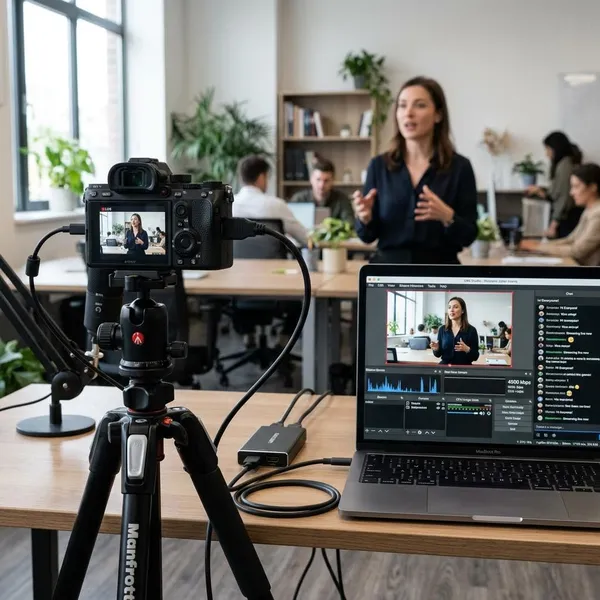
A webcam is useful for chatting, tutorials, reactions, and community-focused streams, but it is not required. If you stream gameplay with voice commentary, start with clean audio and add a camera later when it actually improves the experience.
Stable internet connection
Streaming depends on upload stability, not just the download speed you use for watching videos. If your upload drops during a live session, viewers may see buffering, blurry video, broken audio, or a full disconnect.
How to start a Twitch livestream
The cleanest way to start is to set up the channel first, then connect your software, then check what viewers will actually see and hear. Skipping the checks is the beginner mistake that causes most first-stream problems.
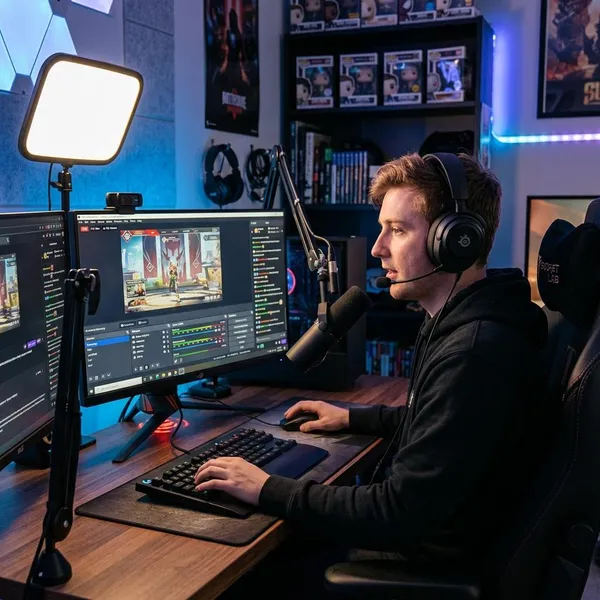
Set up your Twitch channel
Make the channel look active enough for a new viewer to trust it. A profile picture, short description, and simple banner are enough to start; you do not need a full brand identity before your first stream.
Also review basic moderation settings. Even small streams can attract spam, and having rules or blocked terms in place lets you focus on the stream instead of scrambling to manage chat.
Open the Creator Dashboard
The Creator Dashboard is where you manage stream information, chat tools, moderation, analytics, and stream health. Keep it open when you are setting up because it shows details that your broadcast software may not.
Connect your streaming software
Connect your software by logging into Twitch inside the app or by using your stream key. Direct login is usually easier for beginners because it reduces the risk of sending the stream to the wrong account.
Before moving on, confirm the destination is your actual Twitch channel. A preview inside the software only proves your scene exists locally; it does not prove Twitch is receiving it.
Add video and audio sources
Add only the sources you need for the stream you are about to run: game capture or screen capture, microphone, webcam if you use one, and any simple alert or browser source you actually want on screen.
- Gaming stream: game capture, microphone, optional webcam.
- Tutorial stream: window capture, microphone, possibly a larger camera view.
- Chat stream: webcam, microphone, simple background or scene layout.
Set your title and category
Your title should tell viewers what is happening now, not just that you are live. "Learning ranked matches with viewer tips" is more useful than "Live tonight."
Choose the category carefully because it affects who finds you. If you put a tutorial, game, or chatting stream in the wrong place, people may click in with the wrong expectation and leave quickly.
Start streaming
Once your scene, audio, title, category, and connection are ready, press the start streaming button in your software. Then open your Twitch channel from another device or browser tab to confirm the stream is actually live.
How to stream on Twitch with OBS
OBS is popular because it gives you control without costing anything, but it can feel busy the first time you open it. Focus on five basics: connect Twitch, capture the right screen, add your camera if needed, balance audio, and check the preview.
Connect OBS to Twitch
Open OBS settings and connect Twitch by signing in or entering your stream key. Signing in is usually the safer beginner option because it is harder to copy the wrong key or link the wrong channel.
After that, check the output settings. If your computer or upload connection is modest, start with moderate settings rather than pushing maximum resolution immediately.
Add your game or screen
Use Game Capture for many full-screen games, Window Capture when you only want to show one app, and Display Capture when you need to show the whole desktop.
Be careful with Display Capture. It is convenient for tutorials, but it can also reveal browser tabs, messages, file names, or notifications that you did not mean to show.
Add your webcam
Add your webcam as a Video Capture Device source, then resize and move it in the OBS preview. For gameplay, a corner usually works best; for a chatting or teaching stream, a larger camera frame may feel more natural.
Set up microphone and audio
Add your microphone and watch the OBS audio meter while speaking normally. Aim for a clear level that does not constantly hit the red, then compare it against game or desktop audio.
- Voice too quiet: raise the mic level or move closer to the microphone.
- Game too loud: lower desktop audio so your speech stays easy to understand.
- Room noise: try light noise suppression, but avoid settings that make your voice sound robotic.
Check your stream preview
Use the OBS preview as your final safety check. Look for black screens, wrong windows, cropped webcam frames, muted audio, and anything private on your desktop.
If possible, run a short test stream or private-feeling trial session before a stream that matters. A quick test is especially useful when you changed microphones, switched games, moved scenes around, or updated OBS.
Conclusion
A good Twitch setup starts simple: find streams by channel or category when watching, and when streaming, make audio, connection stability, and a clean scene your first priorities. Once those basics work, upgrades like overlays, better cameras, and more complex OBS scenes are worth adding gradually instead of all at once.