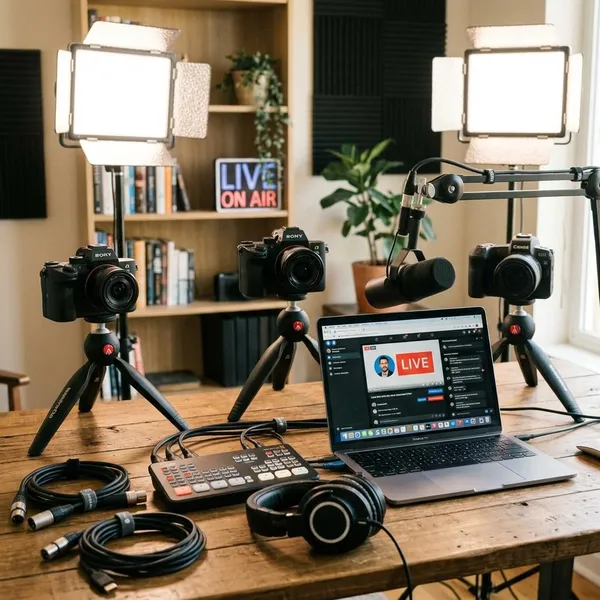
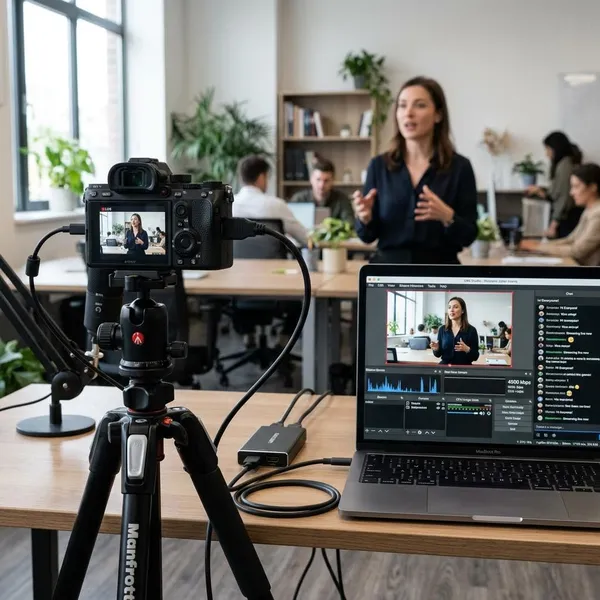
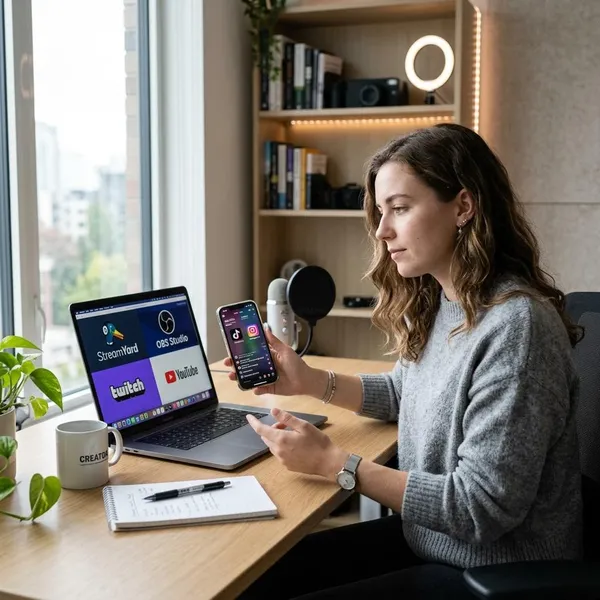
To start a YouTube livestream, first choose the setup that matches what you want to show: webcam for a simple desktop stream, mobile for streaming away from your desk, or OBS/another encoder when you need scenes, overlays, screen capture, or gaming tools. Before you plan anything public, verify that live streaming is enabled on your channel, because first-time activation can take up to 24 hours.
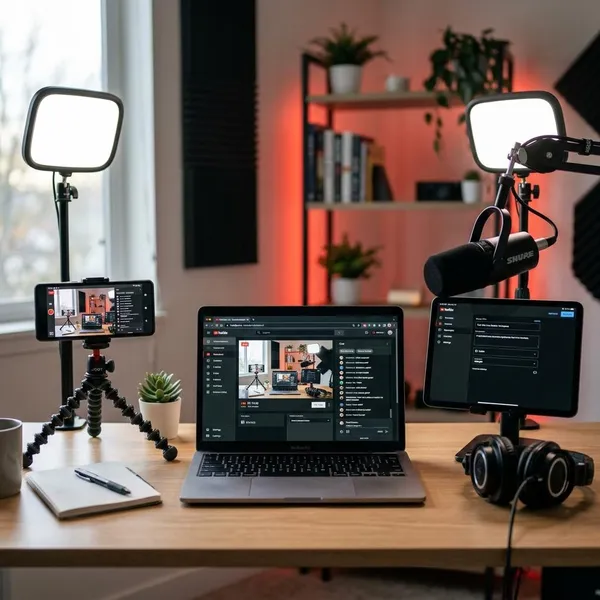
Choose how to stream on YouTube
The best streaming method is not the most advanced one. It is the one you can run reliably without fighting your setup while viewers are waiting. For a quick Q&A from your desk, a webcam is usually enough. For a planned webinar, tutorial, podcast, or gaming stream, OBS or another encoder gives you much better control.
| Streaming method | Best fit | Main thing to check first |
|---|---|---|
| Webcam | Simple desktop streams, coaching calls, quick updates | Browser access to the right camera and microphone |
| Mobile | Events, travel, outdoor clips, informal live updates | Mobile live eligibility and a stable connection |
| Encoder | OBS streams, tutorials, webinars, podcasts, gaming layouts | Stream key, bitrate, scenes, and audio sources |
| Console | Straightforward gameplay from PlayStation or Xbox | Account connection and available console streaming options |
How to livestream with a webcam
A webcam stream is the fastest desktop workflow: open Live Control Room, enter the basic details, select your camera and microphone, check the preview, then go live. The two things to test before a public stream are audio and lighting, because viewers will usually forgive average video more easily than muffled or distorted sound.
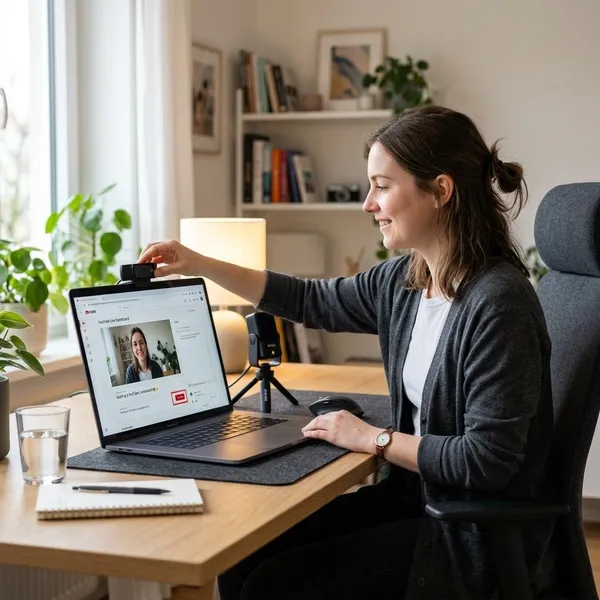
Open YouTube Live Control Room
Sign in to the correct YouTube channel, click the create icon, and choose Go Live. If you have never used YouTube Live before, YouTube may ask you to verify your phone number and wait before the feature becomes available.
Add your stream details
Enter the title, description, audience setting, category, and visibility. Public works for a normal broadcast, Unlisted is useful for a limited audience, and Private is better for testing.
Make the title specific enough for replay viewers too. "Beginner Guitar Q&A: Chord Changes and Practice Tips" is much clearer than "Live Now," especially once the stream becomes a saved video.
Select your camera and microphone
Pick the exact camera and microphone you want YouTube to use. This small check prevents a common mistake: the browser choosing a laptop mic while your better USB microphone sits unused.
- Say a few test lines and watch the audio level.
- Face a steady light source instead of sitting with a bright window behind you.
- Remove background distractions if the stream is meant to feel focused.
Preview and go live
Use the preview as a final check, not as a formality. Look for wrong framing, quiet audio, harsh shadows, camera lag, or anything visible on screen that should not be there.
How to livestream with OBS or an encoder
OBS and other encoders are best when your stream needs production control rather than just a live camera. The basic flow is simple: create the stream on YouTube, copy the stream information into your encoder, send a preview signal, check stream health, and only then go public.
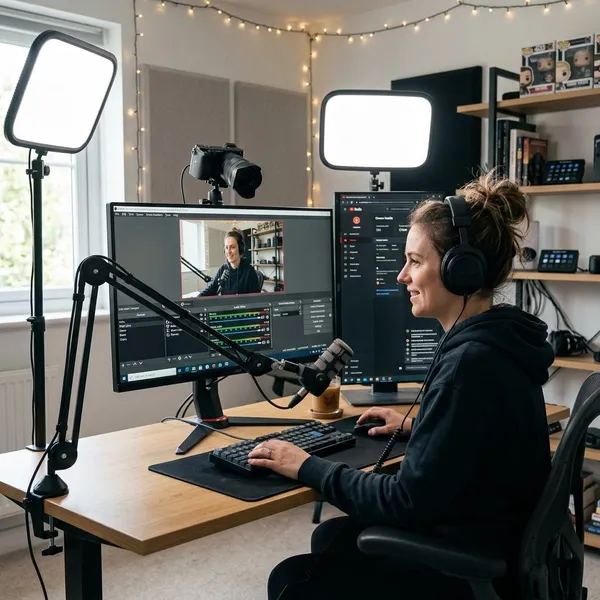
Create a stream in Live Control Room
Open Live Control Room and create a new stream for your encoder. Add the title, description, audience setting, category, visibility, and schedule if you want viewers to set reminders before the event starts.
Copy your stream URL and key
YouTube will show a Stream URL and Stream Key for encoder-based streams. Copy them into your streaming software carefully, and keep the stream key private.
If the key appears in a screenshot or is shared with the wrong person, reset it before going live. Treat it like access to your broadcast destination, not like a normal public link.
Connect OBS or another encoder
In OBS, open the stream settings and choose YouTube as the service if available. Otherwise, use the custom option and paste the Stream URL and Stream Key from Live Control Room.
- Add only the sources you need for the stream, such as webcam, microphone, screen capture, game capture, or slides.
- Name your scenes clearly so you are not guessing during the broadcast.
- Check audio sources separately to avoid doubled sound or missing desktop audio.
Check the preview and stream health
Start sending the signal from OBS, then check the preview in YouTube before clicking Go Live. In many setups, OBS can be sending video while the stream is still not public.
Pay attention to stream health warnings. If YouTube reports dropped frames, unstable bitrate, or connection problems, lower the stream demands before you start. A steady 720p stream is usually better than a sharp-looking stream that freezes every few seconds.
Start your livestream
Once YouTube shows a stable preview and healthy signal, click Go Live in Live Control Room. During the broadcast, keep an eye on audio meters, chat, CPU load, and connection stability, especially during scene changes or gameplay.
When you finish, end the stream on YouTube and then stop the encoder. That order helps avoid a messy ending where the public stream stays open with a blank or frozen feed.
How to livestream from your phone
Phone streaming is best when being live from the place matters more than having a polished studio layout. It can be perfect for a local event, a short behind-the-scenes update, or a quick outdoor broadcast, but it depends heavily on eligibility, battery, signal strength, and how steady you can keep the phone.
Check mobile eligibility
Before opening the app, confirm that your channel can use mobile live streaming. YouTube commonly requires a verified channel, no recent live streaming restrictions, and a subscriber threshold for mobile streams; first-time live activation may also take up to 24 hours.
If the Go Live option does not appear on your phone, check YouTube Studio > Settings > Channel > Feature eligibility. That is more useful than repeatedly reinstalling the app, which usually does not fix an account-level restriction.
Open Live in the YouTube app
Open the YouTube app, sign in to the right channel, tap the plus icon, and choose Go Live. Allow camera and microphone permissions when prompted.
- Use Wi-Fi when it is reliable, especially indoors.
- Use mobile data cautiously at crowded events where the signal may fluctuate.
- Charge your phone first or bring a power bank for longer streams.
Add your stream details
Add a clear title, audience setting, visibility, and any thumbnail option YouTube offers in the app. For a location-based stream, mention the actual event or activity so viewers know why it is worth joining now.
Preview and start streaming
Check the preview for framing, sound, lighting, and background movement. If you are holding the phone by hand, keep your elbows close to your body or use a small tripod; shaky video becomes tiring faster than many new streamers expect.
When the feed looks steady, tap Go Live. Keep watching battery level and device heat if you plan to stream for more than a few minutes, because a phone that overheats or loses connection can end the stream abruptly.
Conclusion
The safest way to start is to choose the simplest setup that still fits the stream: webcam for a clean desktop live, mobile for being on location, OBS for controlled layouts, and console streaming for basic gameplay. Check eligibility first, test audio before video, and do one private or unlisted test if the stream matters; fixing small problems early is much easier than troubleshooting while people are already watching.